Quick Start
Introduction
VisualFormMaker is web application based on laravel framework and jQuery.formbuilder that allowing you to build and manage simple html forms using simple drag-and-drop action.
This project inspired by my previous project SimplePhpFormBuilder and Laravel Form Builder Package.
Features
- build simple form visually (drag and drop)
- mange forms
- mange submitted form data
- mange users and profiles
- mange groups
- mange organization tree
Installation
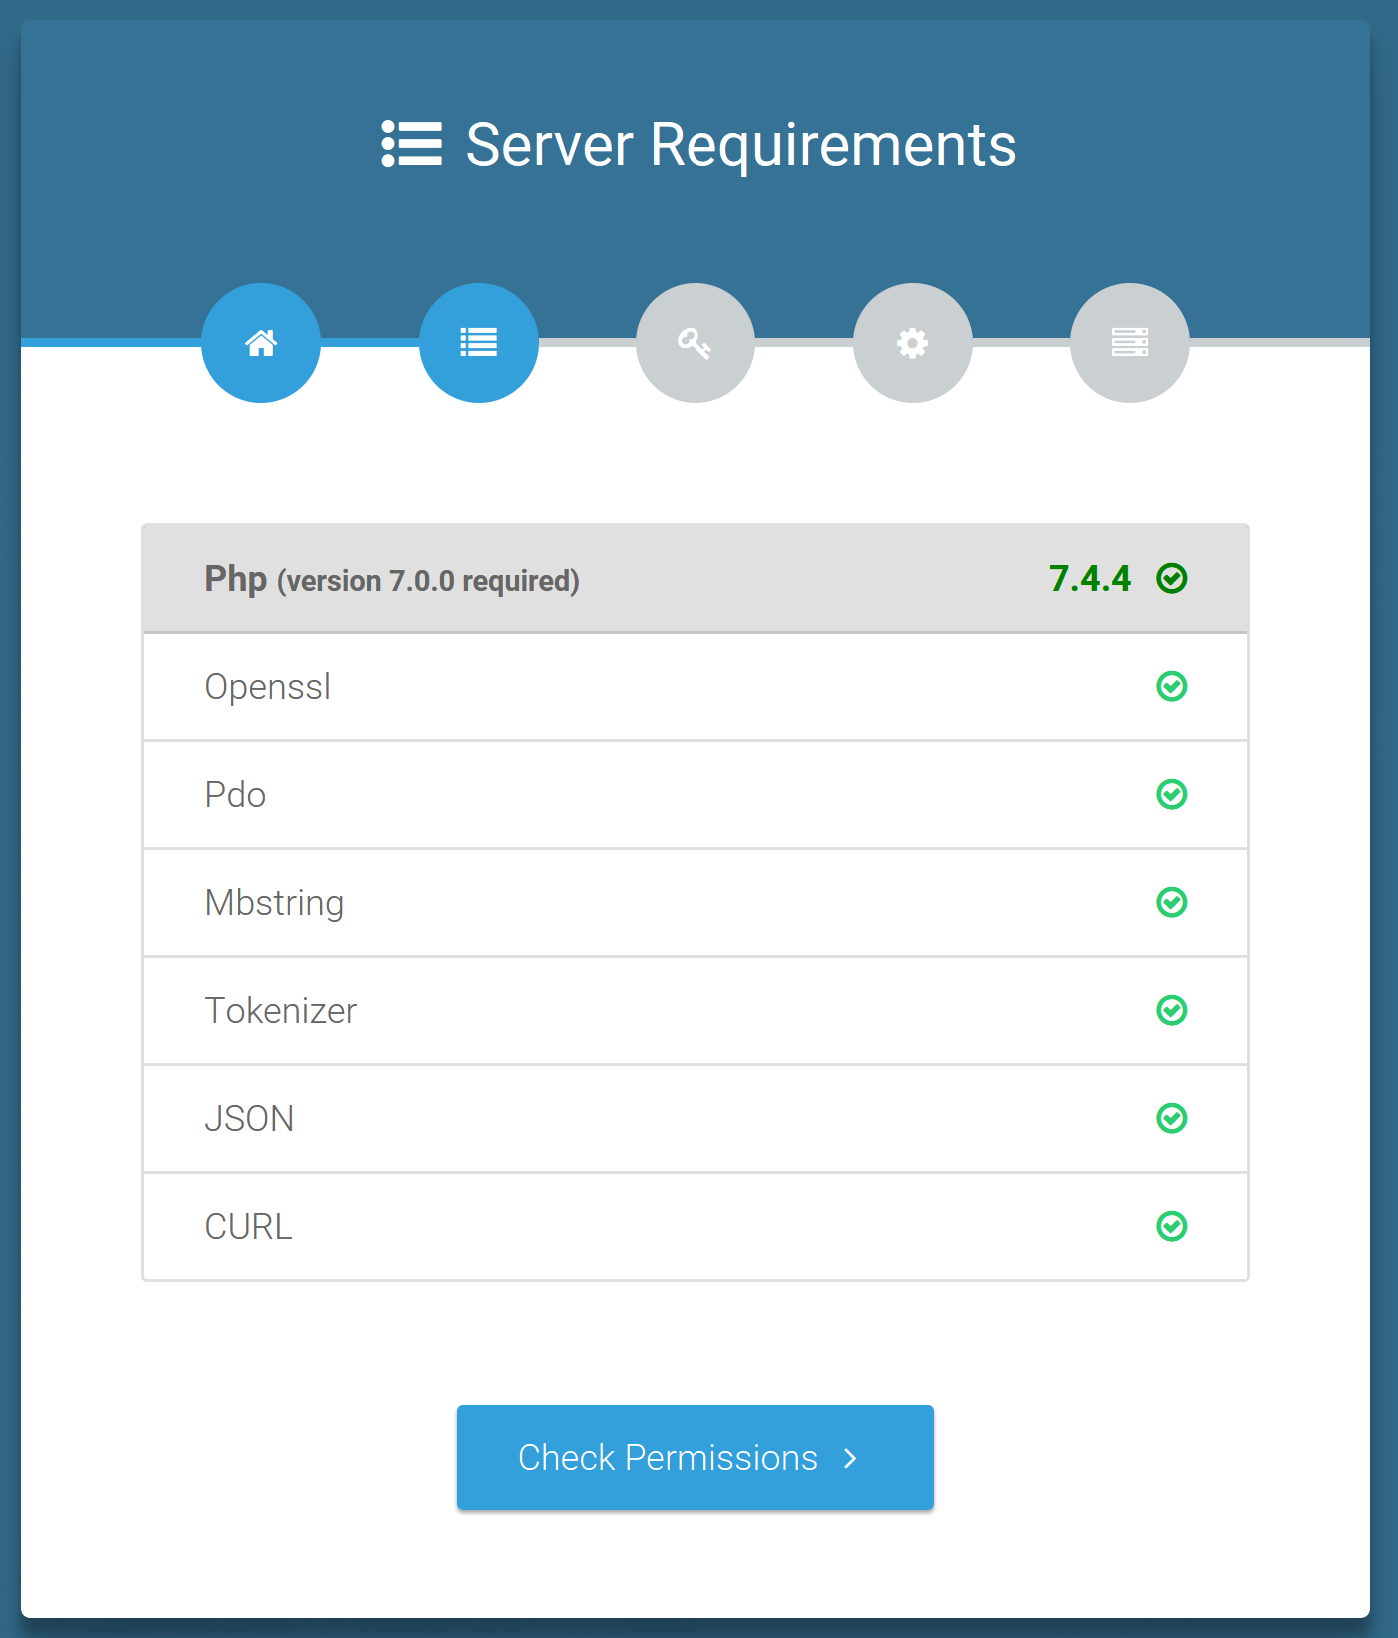
Requirements
- web server (iis , apache, ...)
- php : ^7.2.5
- database : sqlite, mysql, pgsql, sqlsrv (tested in MySQL version 8 and sqlite)
Installing
Two ways to install the app, using composer or by manually downloading from GITHUB.
option 1 - using composer:
- Make sure you have PHP to Your Windows Path Variable
- Make sure you have Composer installed on your machine.
- open command line program (cmd, powerhell, gitbash ...)
- navigate to your web-server root folder
- run:
composer create-project meshesha/visual-form-maker visualformmaker --no-dev
option 2 - manually downloaded:
- download Source code ('zip' or 'tar.gz') from github last release.
- unzip the downloaded file.
- copy visualformmaker folder to the root of your web server.
Configuration
1. Web server:
1.a. IIS server:
- install iis and php.
- Create Website in IIS:
- Start IIS (by typing 'inetmgr' in run window)
- Add new Website:
In the left side base expand the tree and select the Sites option. Then Right-click on Sites and select Add Website… option like the following image.
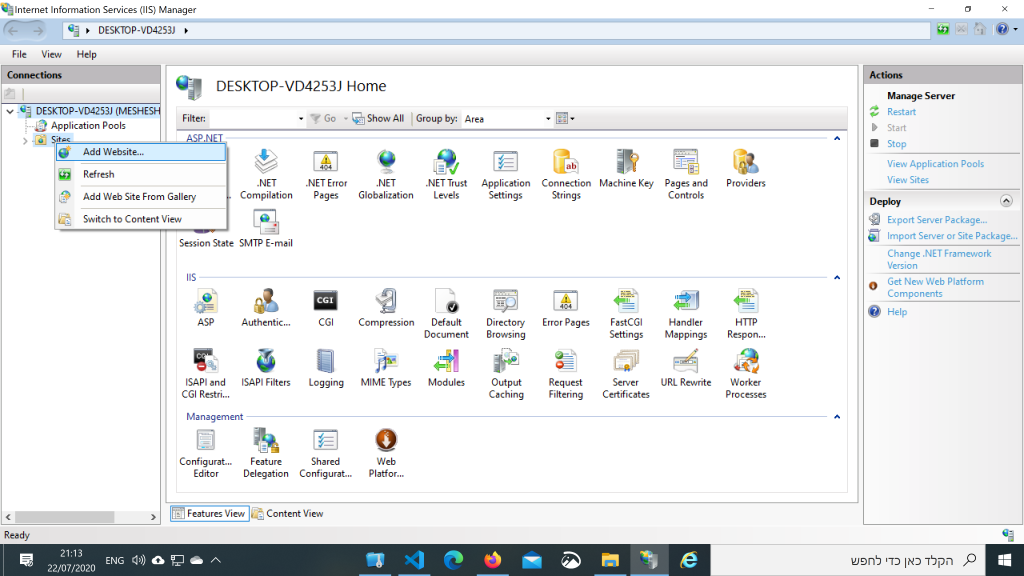
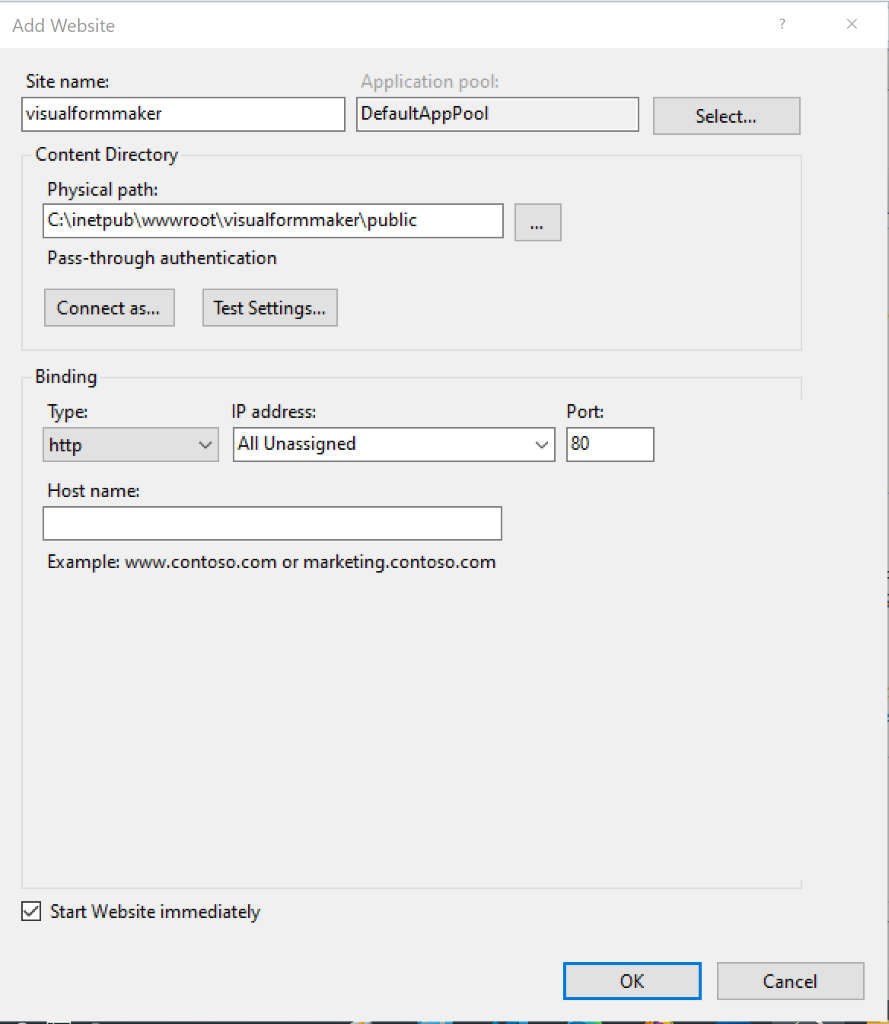
This will open a popup to input new website details. Input the following details in pop-up box.
- Site name: visualformmaker
- Application pool: DefaultAppPool
- Physical path: C:\inetpub\wwwroot\visualformmaker\public.
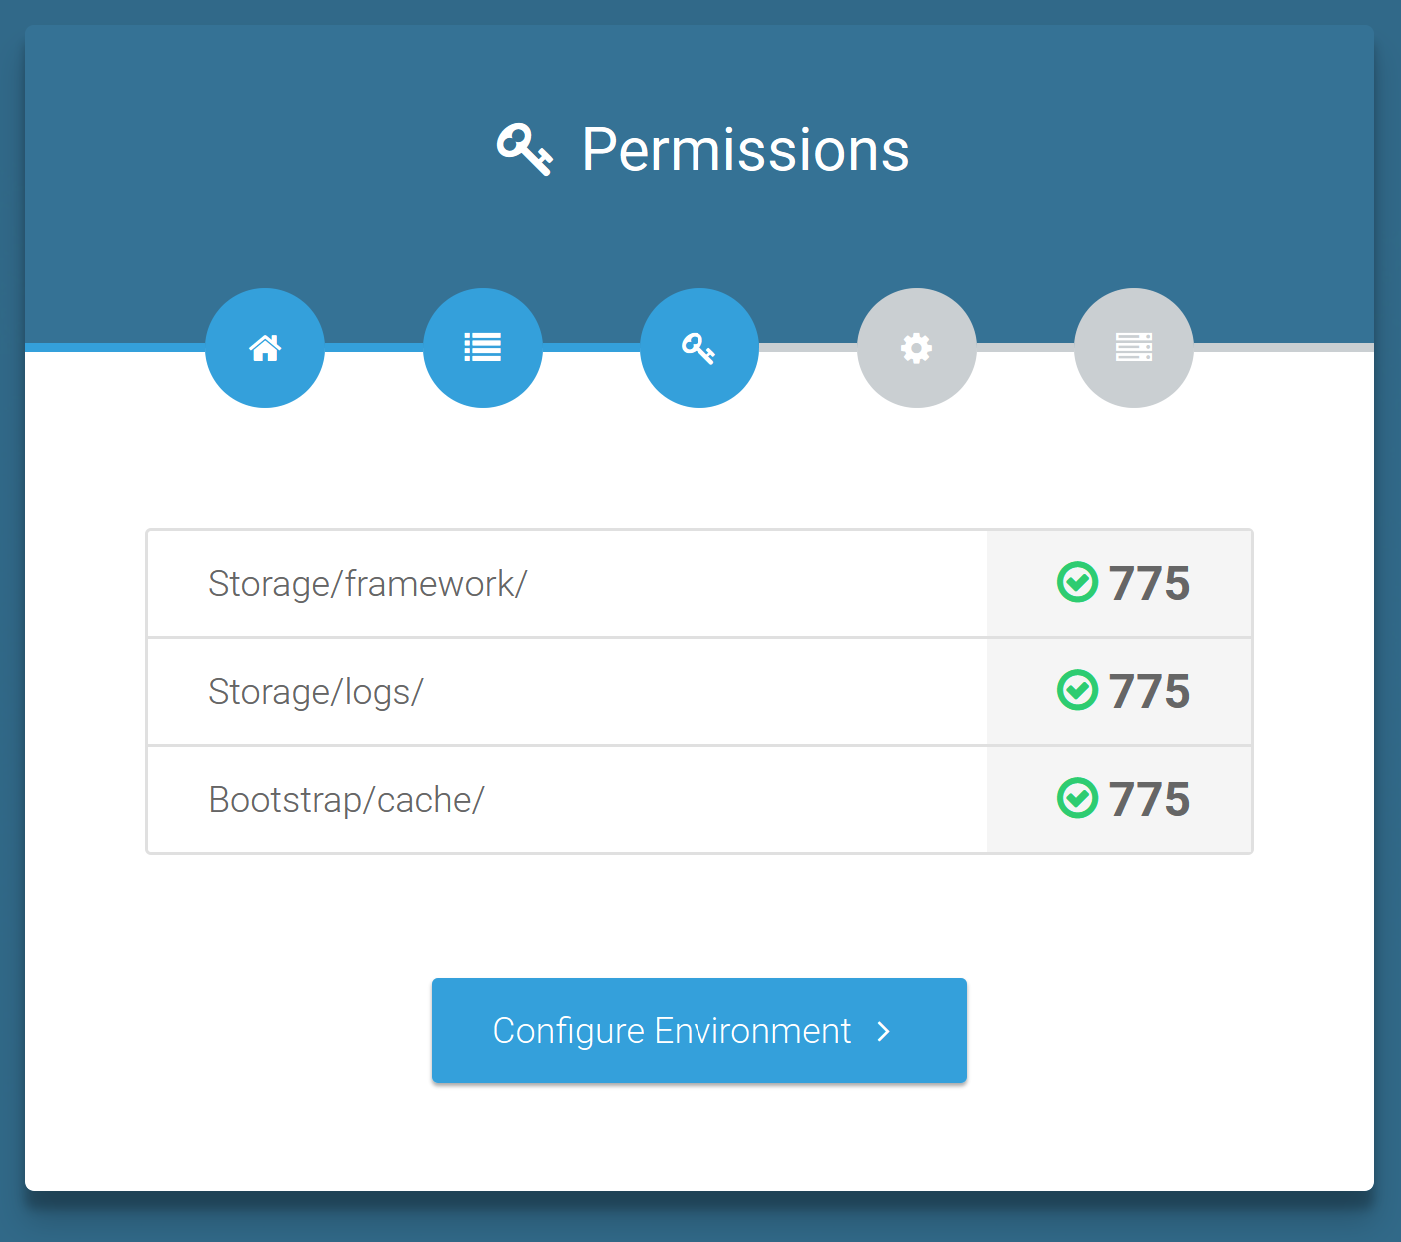
- Storage folder Permissions: In File Explorer, right click on the storage folder in C:\inetpub\wwwroot\visualformmaker and select Properties. Under the Security tab, grant full control of the storage folder to IUSR.
- Cache folder Permissions: In File Explorer, right click on the cache folder in C:\inetpub\wwwroot\visualformmaker\bootstrap and select Properties. Under the Security tab, grant full control of the storage folder to IUSR.
- URL Rewite : The rewrite rule definitions in the web.config require the URL Rewite extension.
- more details...
1.b. XAMPP/WAMP:
Setting up a Laravel project on Windows with XAMPP / WAMP.
1.c. Apache:
Steps for configuring Laravel on Apache HTTP Server
2. Database:
setup database server and create database called 'visualformmaker'.
note: this step is optional in MySQL and
sqlite.


Usage
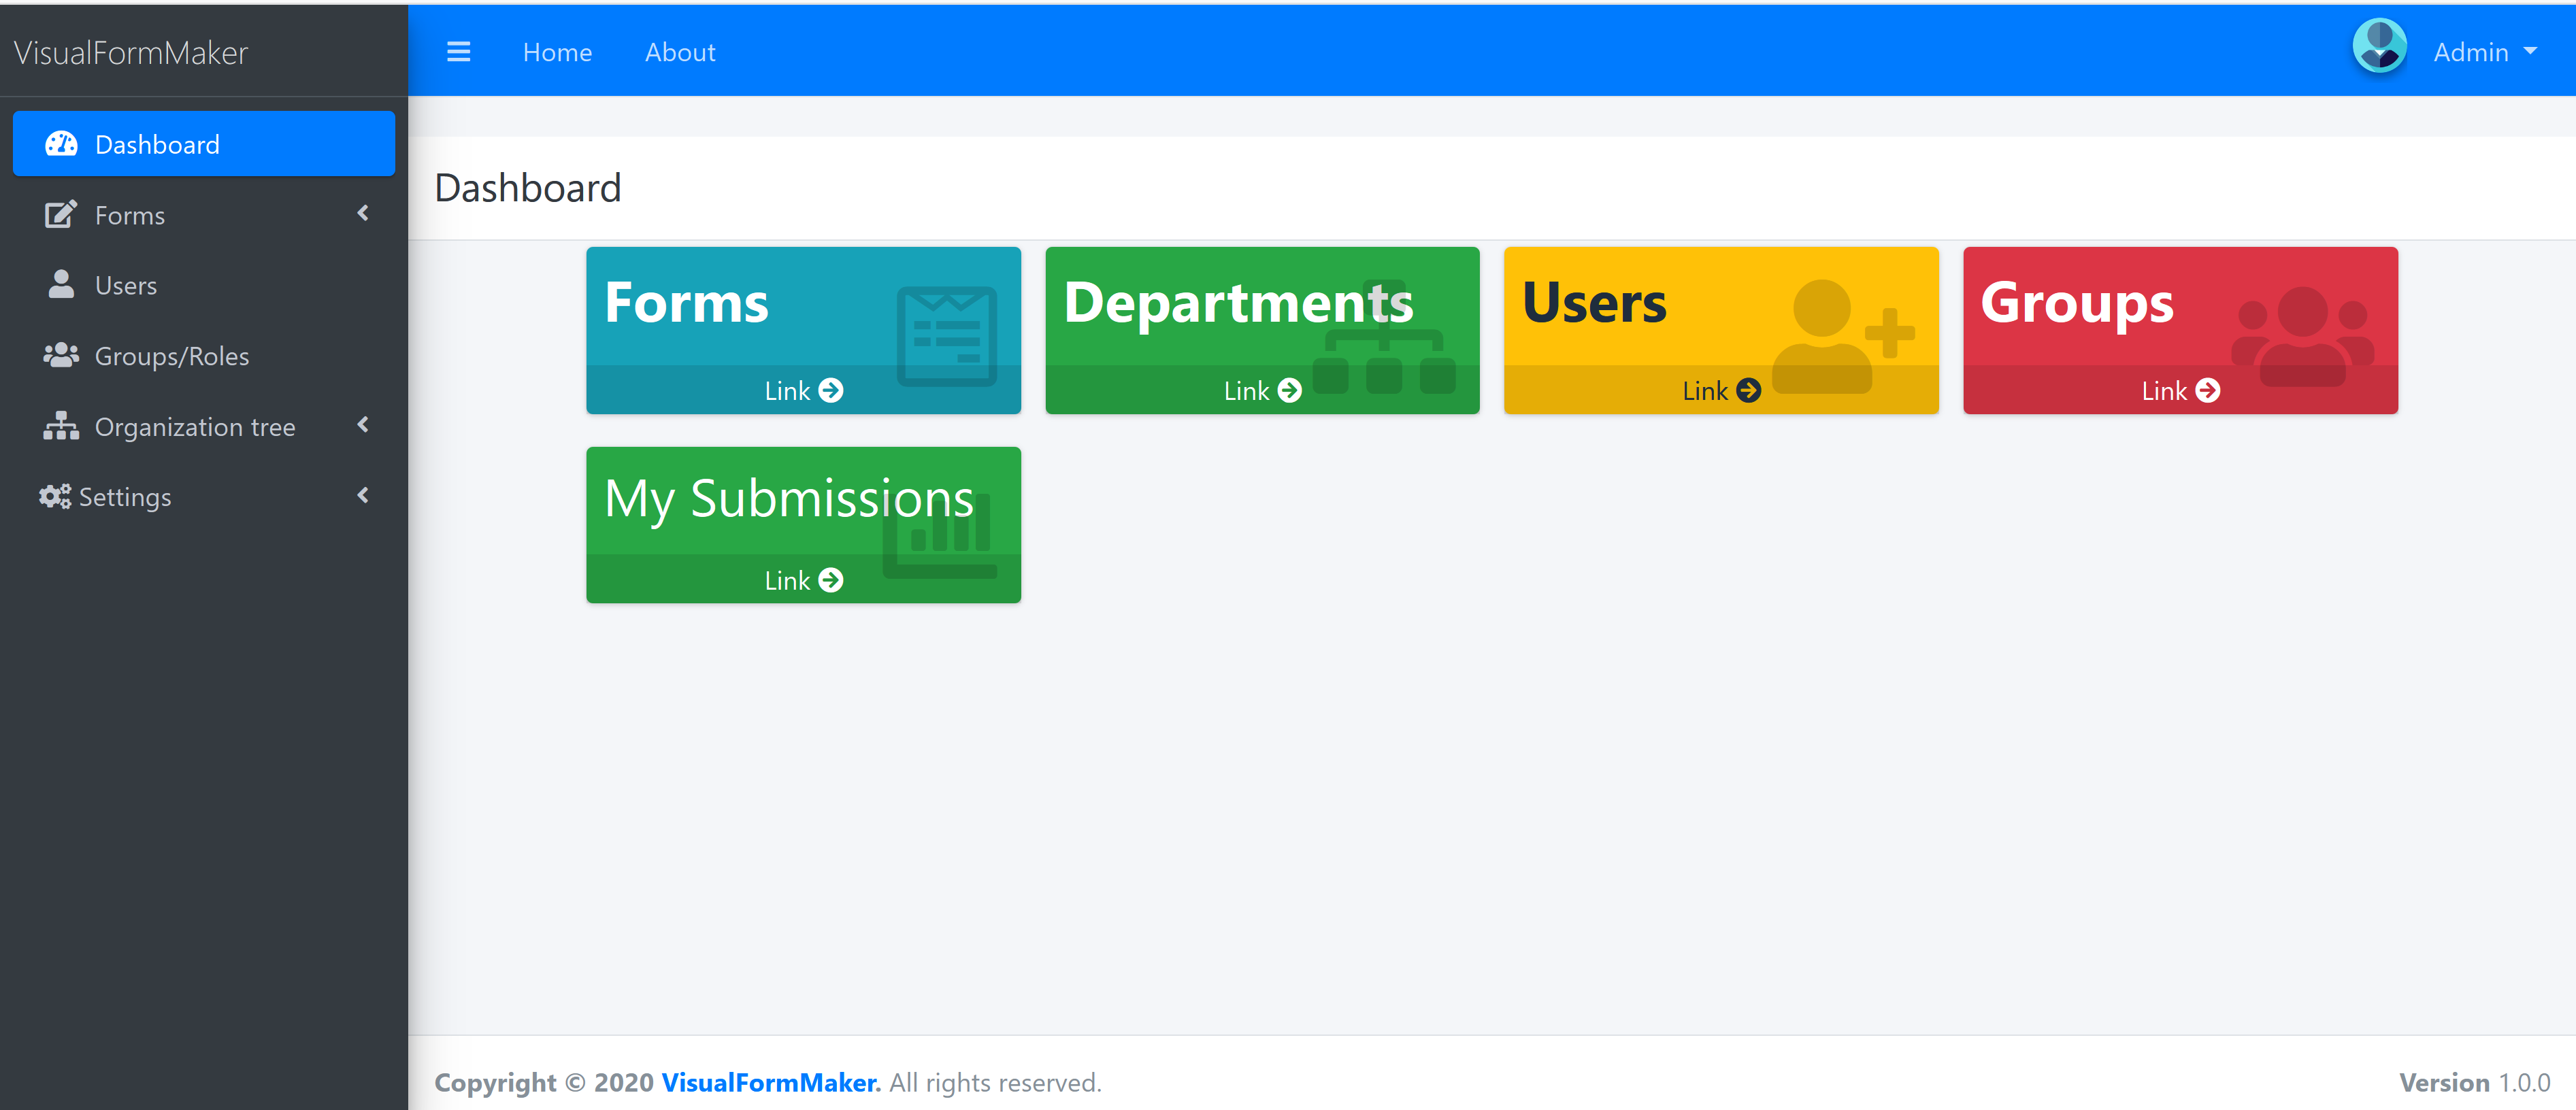
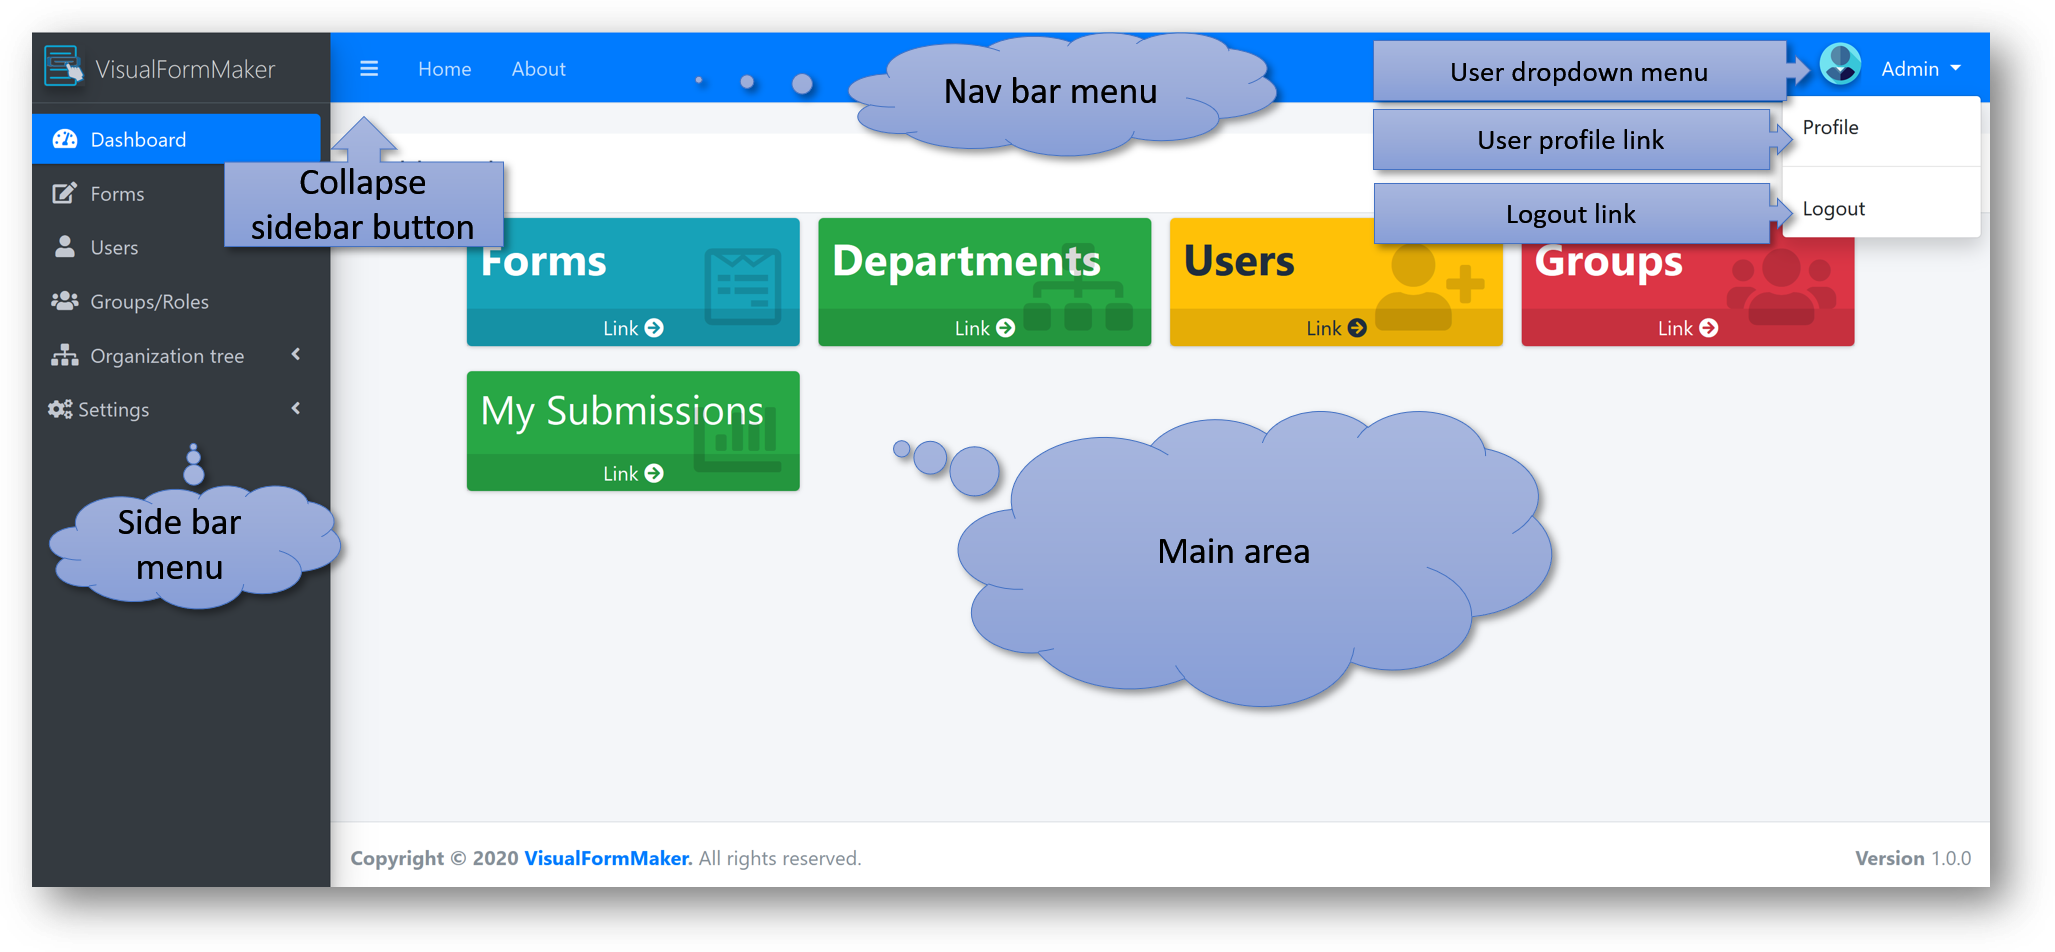
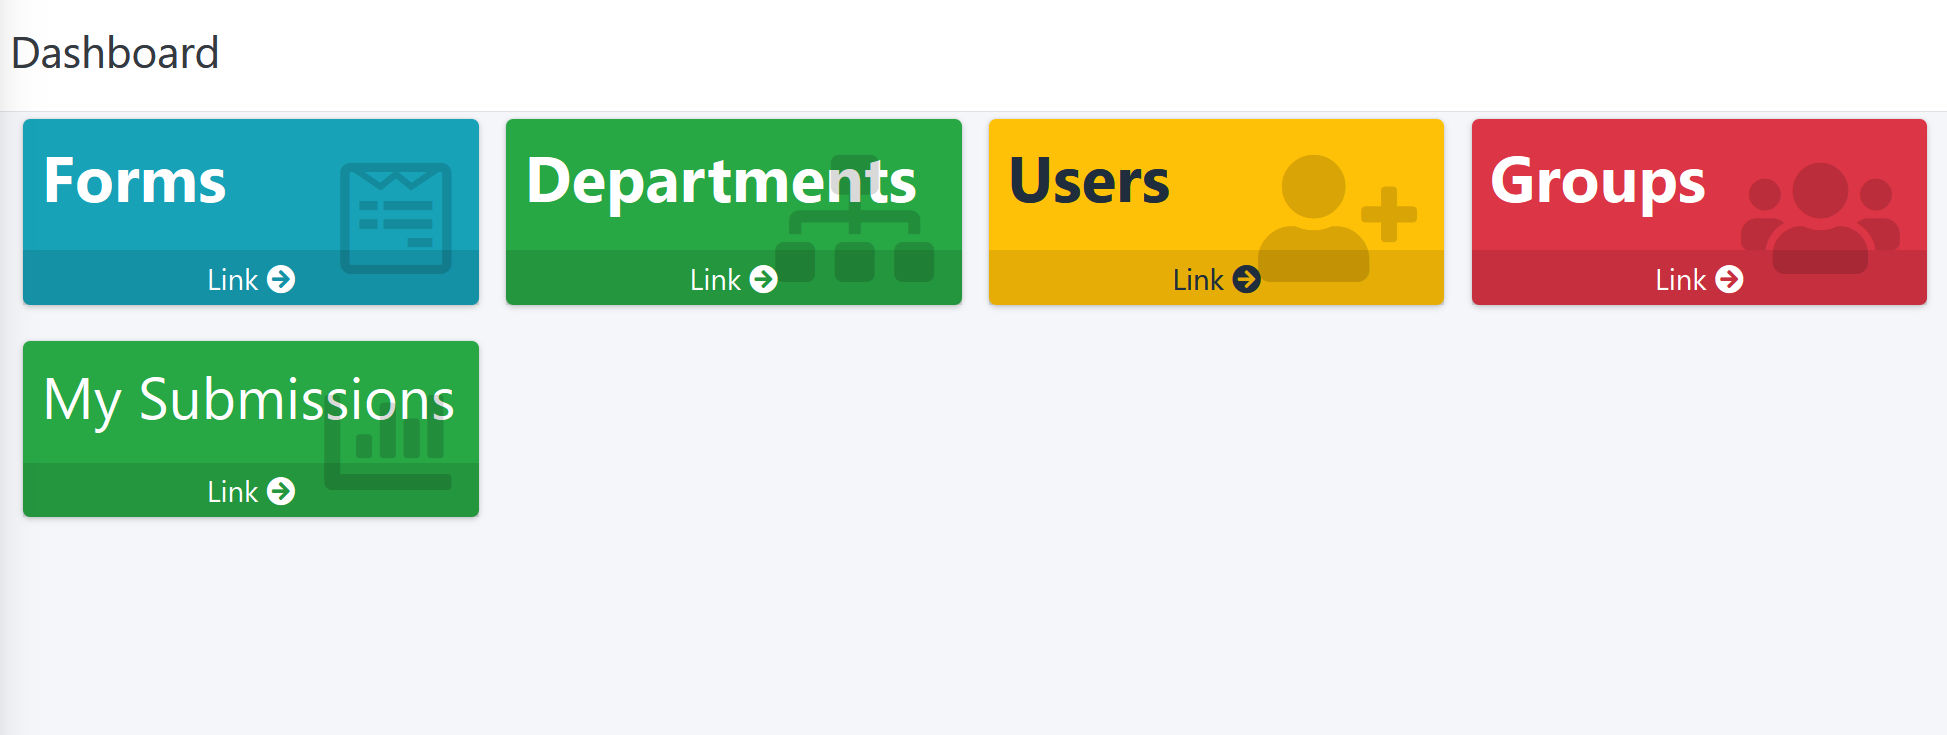
Dashboard
Main Dashboard view:
User Profile
To show profile data goto user dropdown menu and click 'Profile':
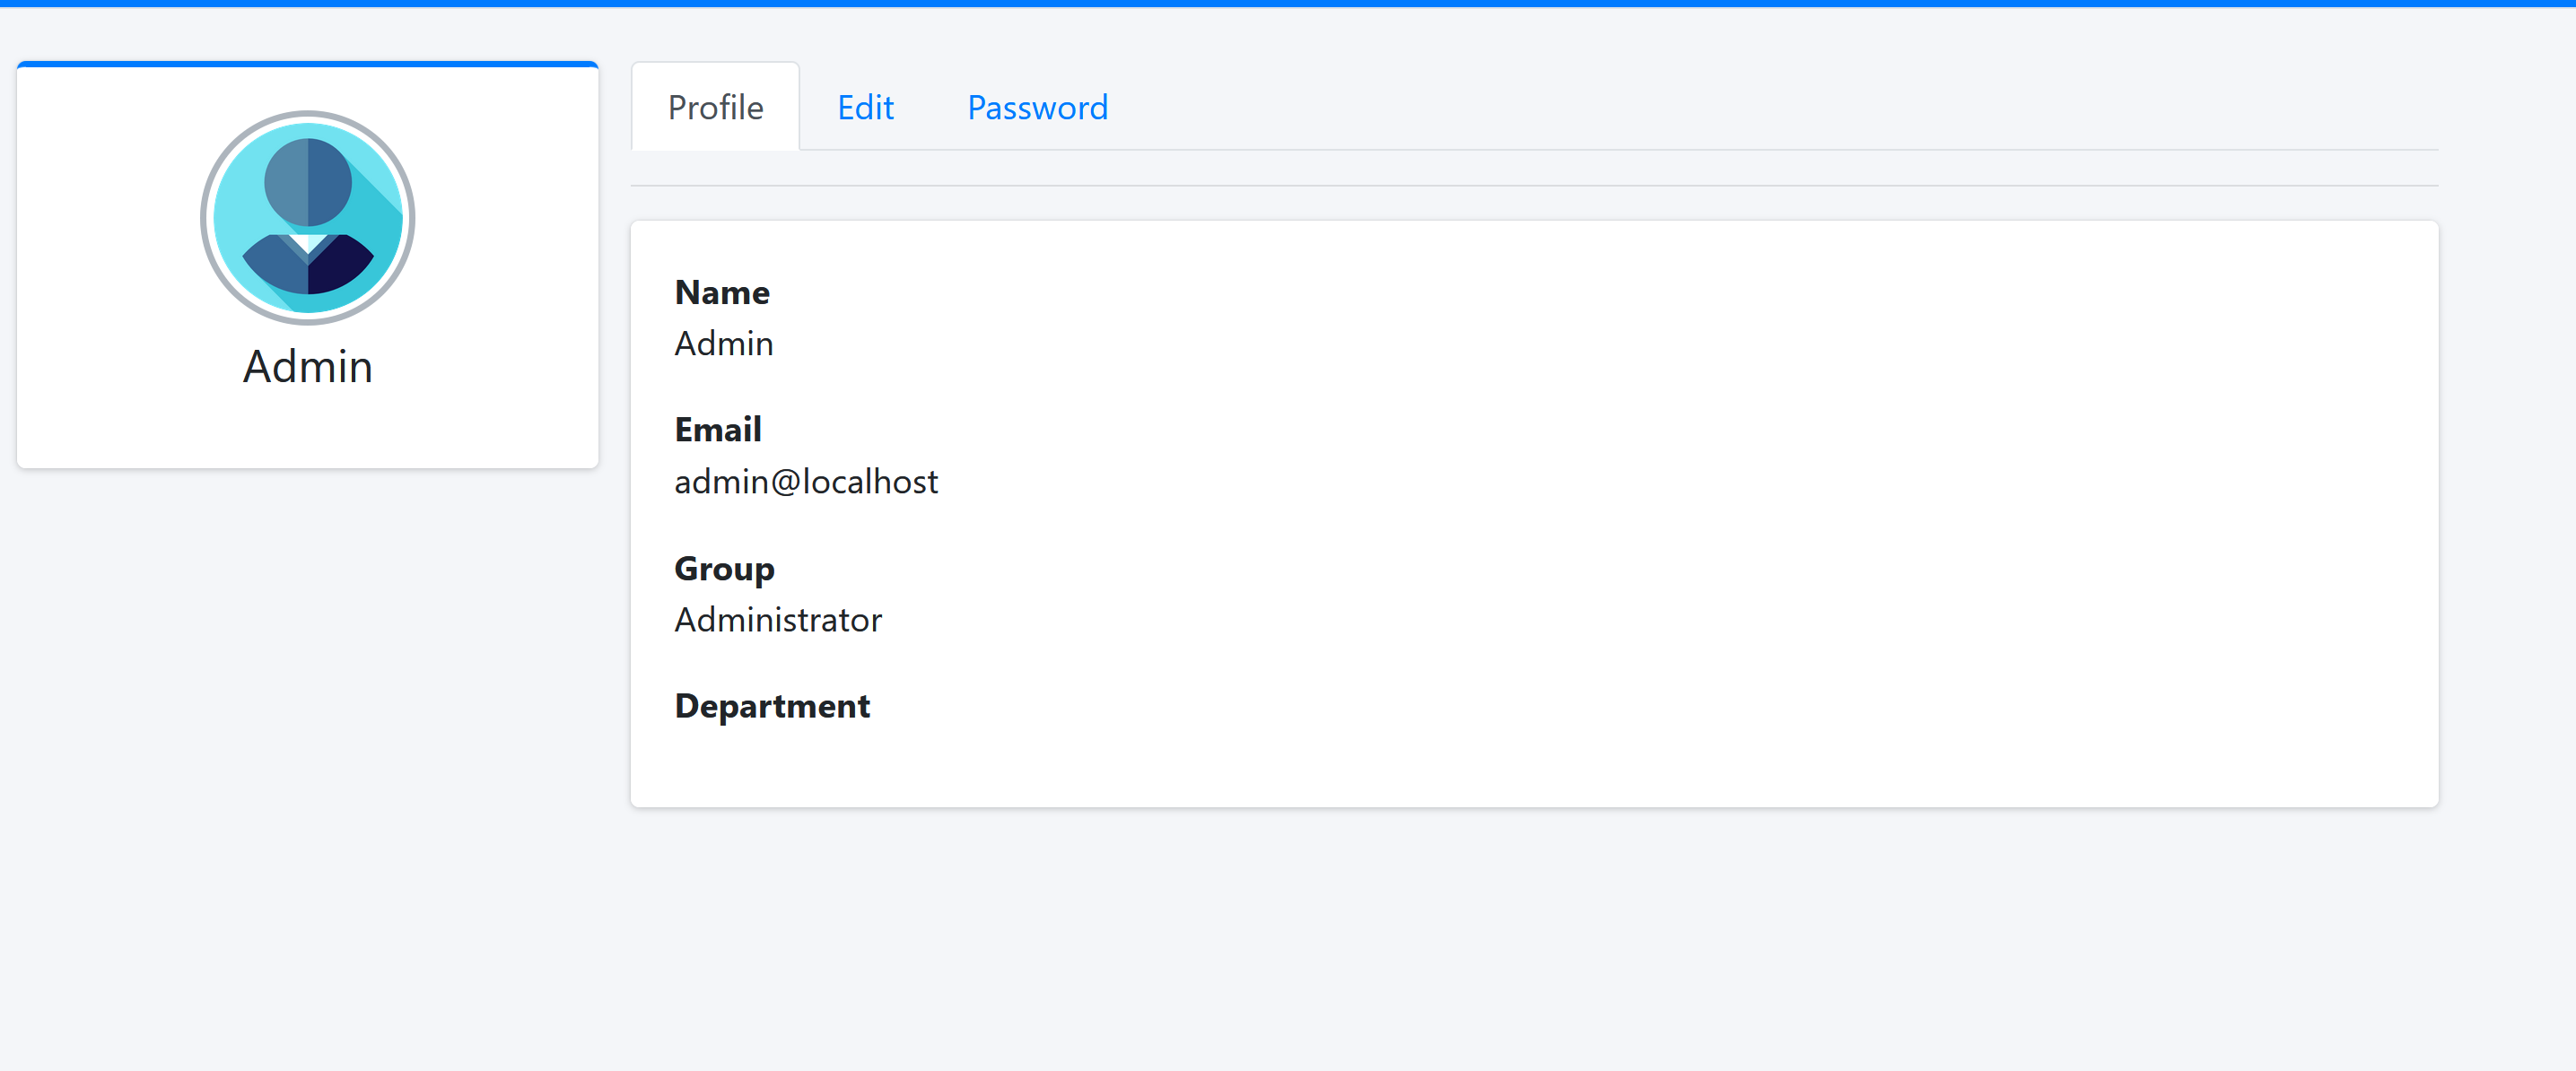
Show user profile data.
Edit user Profile
To edit profile data, click 'edit' tab:
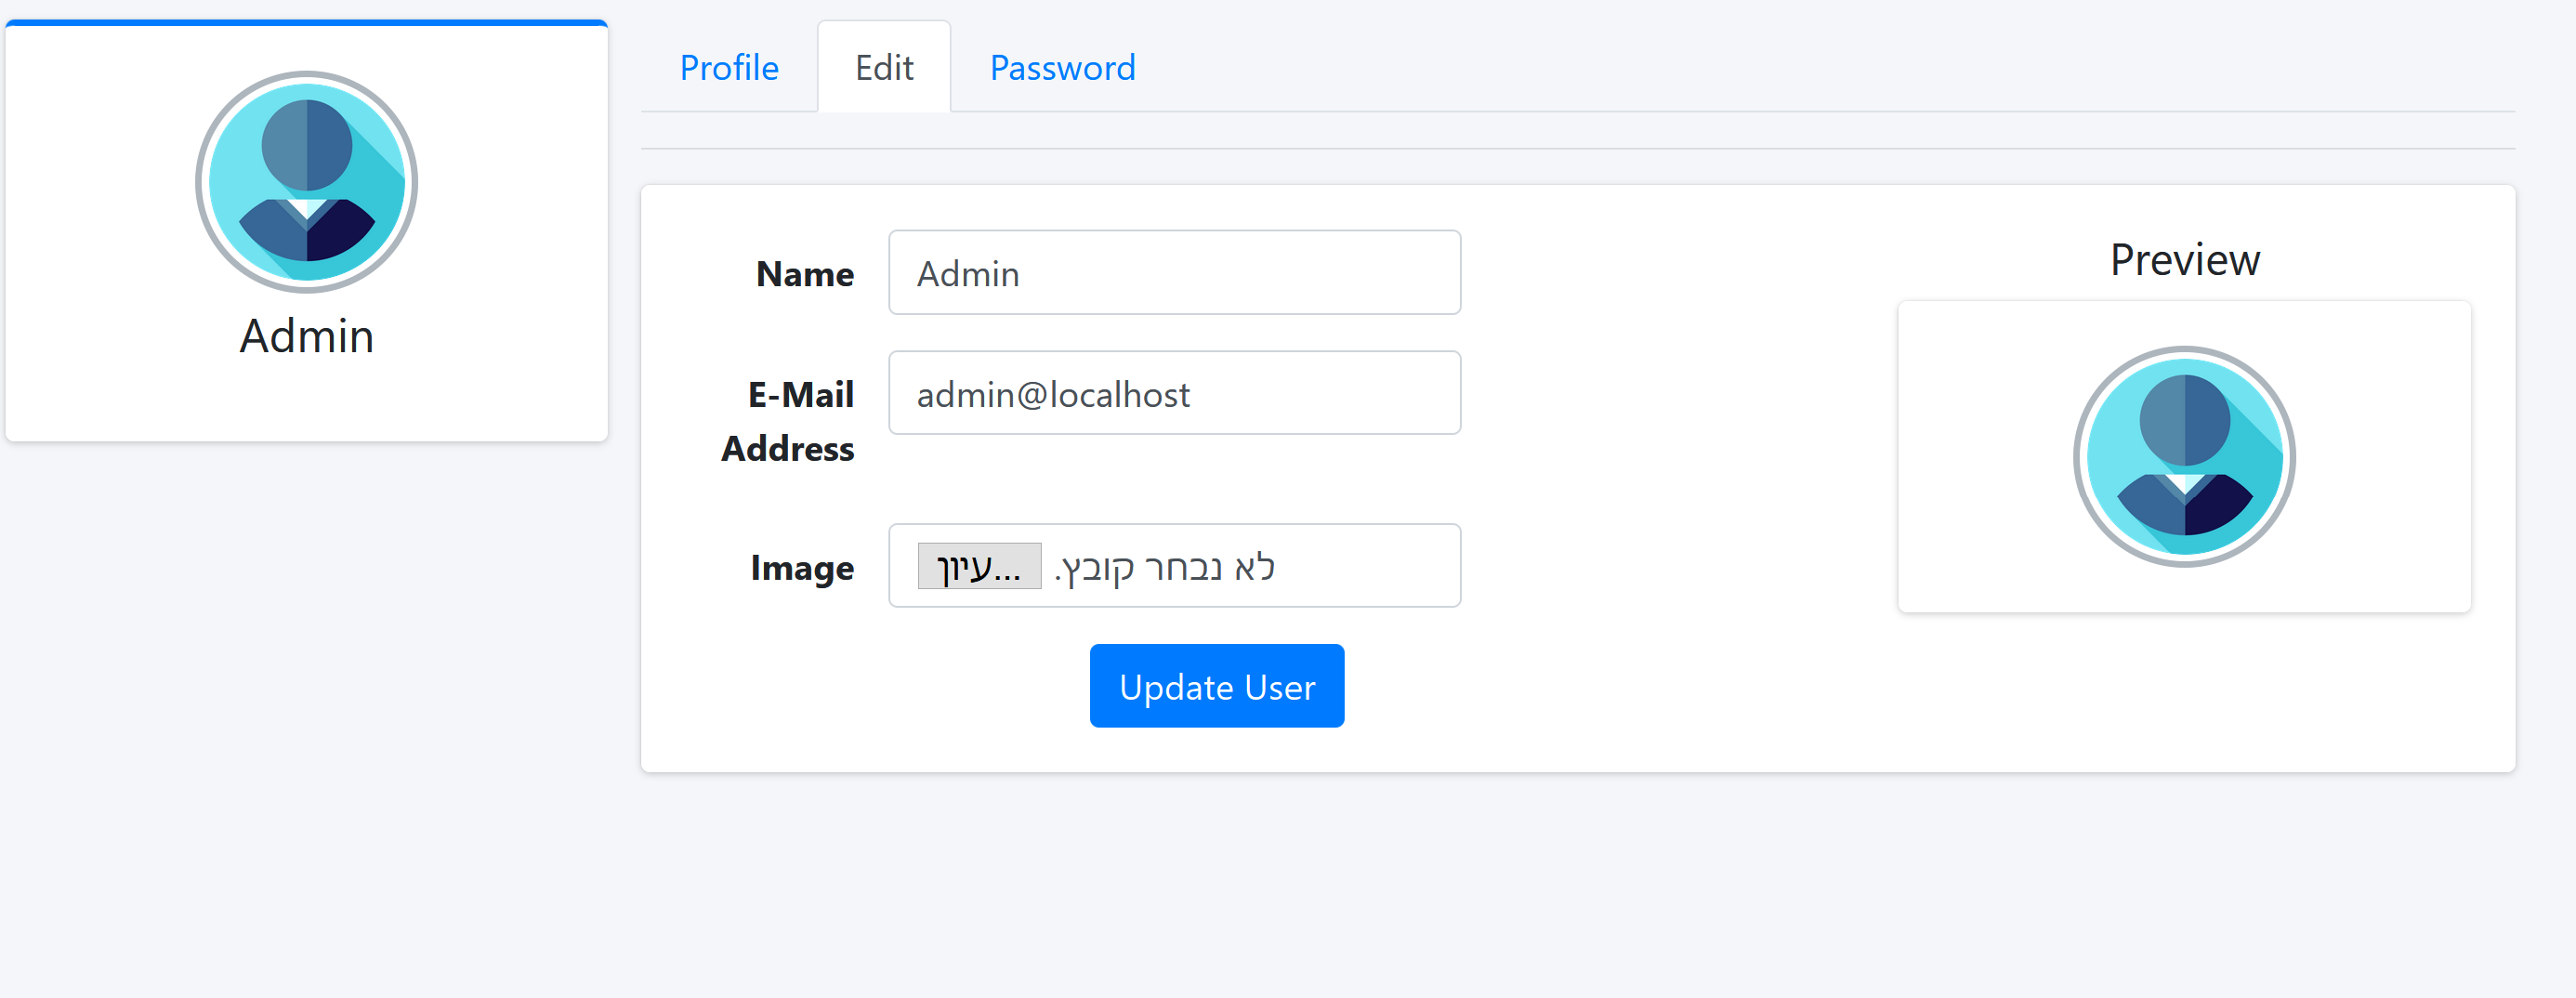
Here you can to chenge your name, email and profile picture.
Change user password
To change your password, click 'Password' tab:
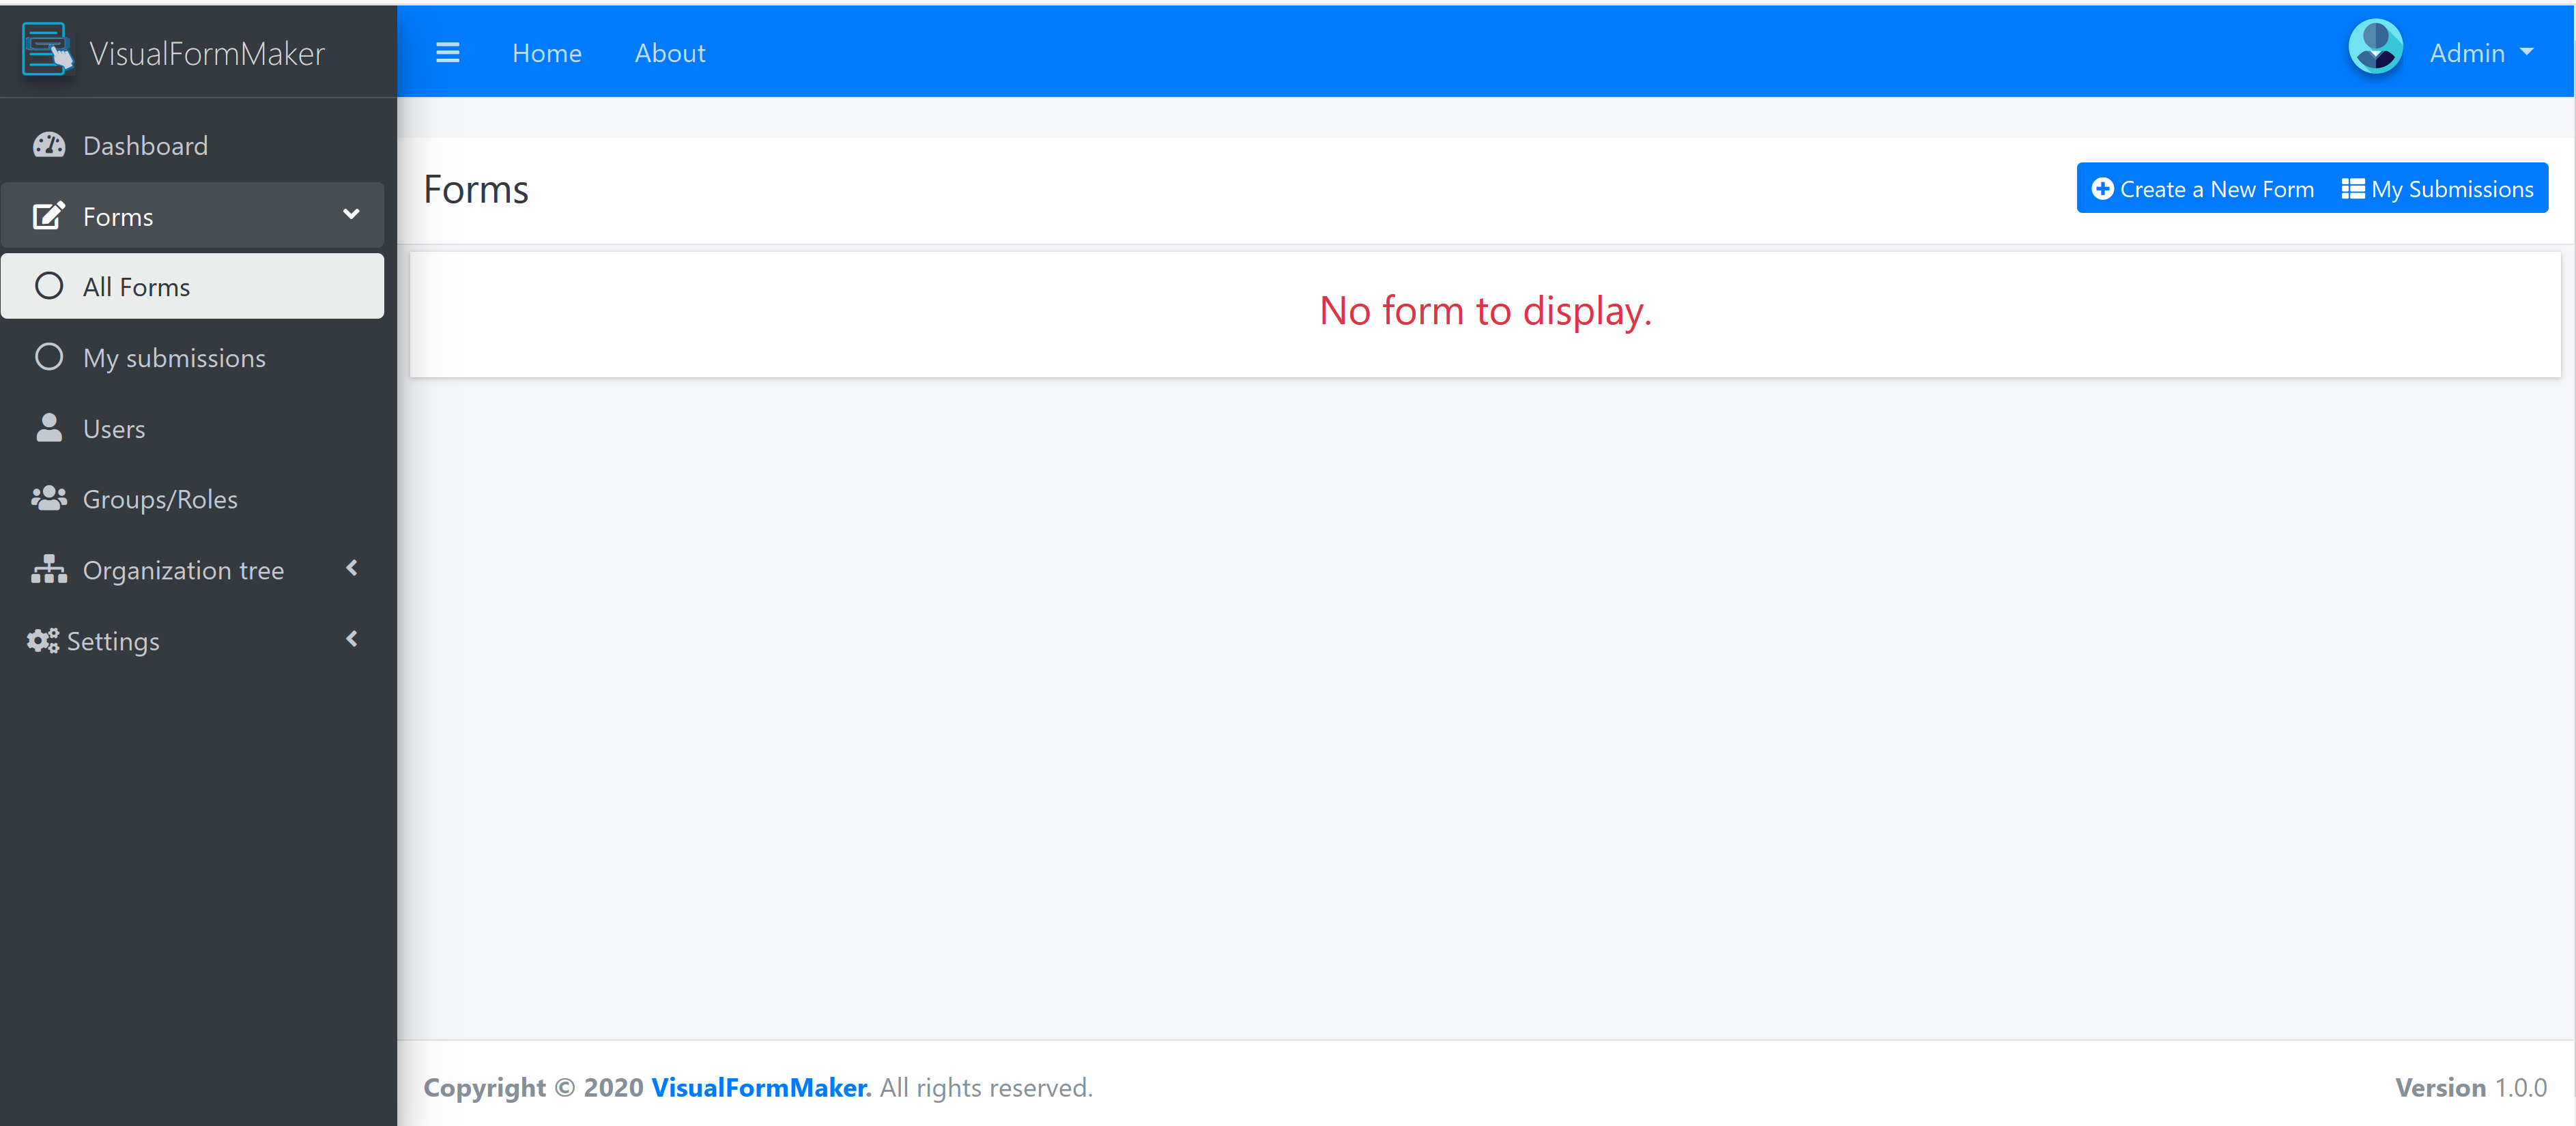
Forms
To go to forms management area, click 'Forms' link in main dashboard area or in sidebar menu click 'Forms' and then click 'All Forms'.
Create new form
To create new form, click 'Create new form' button:
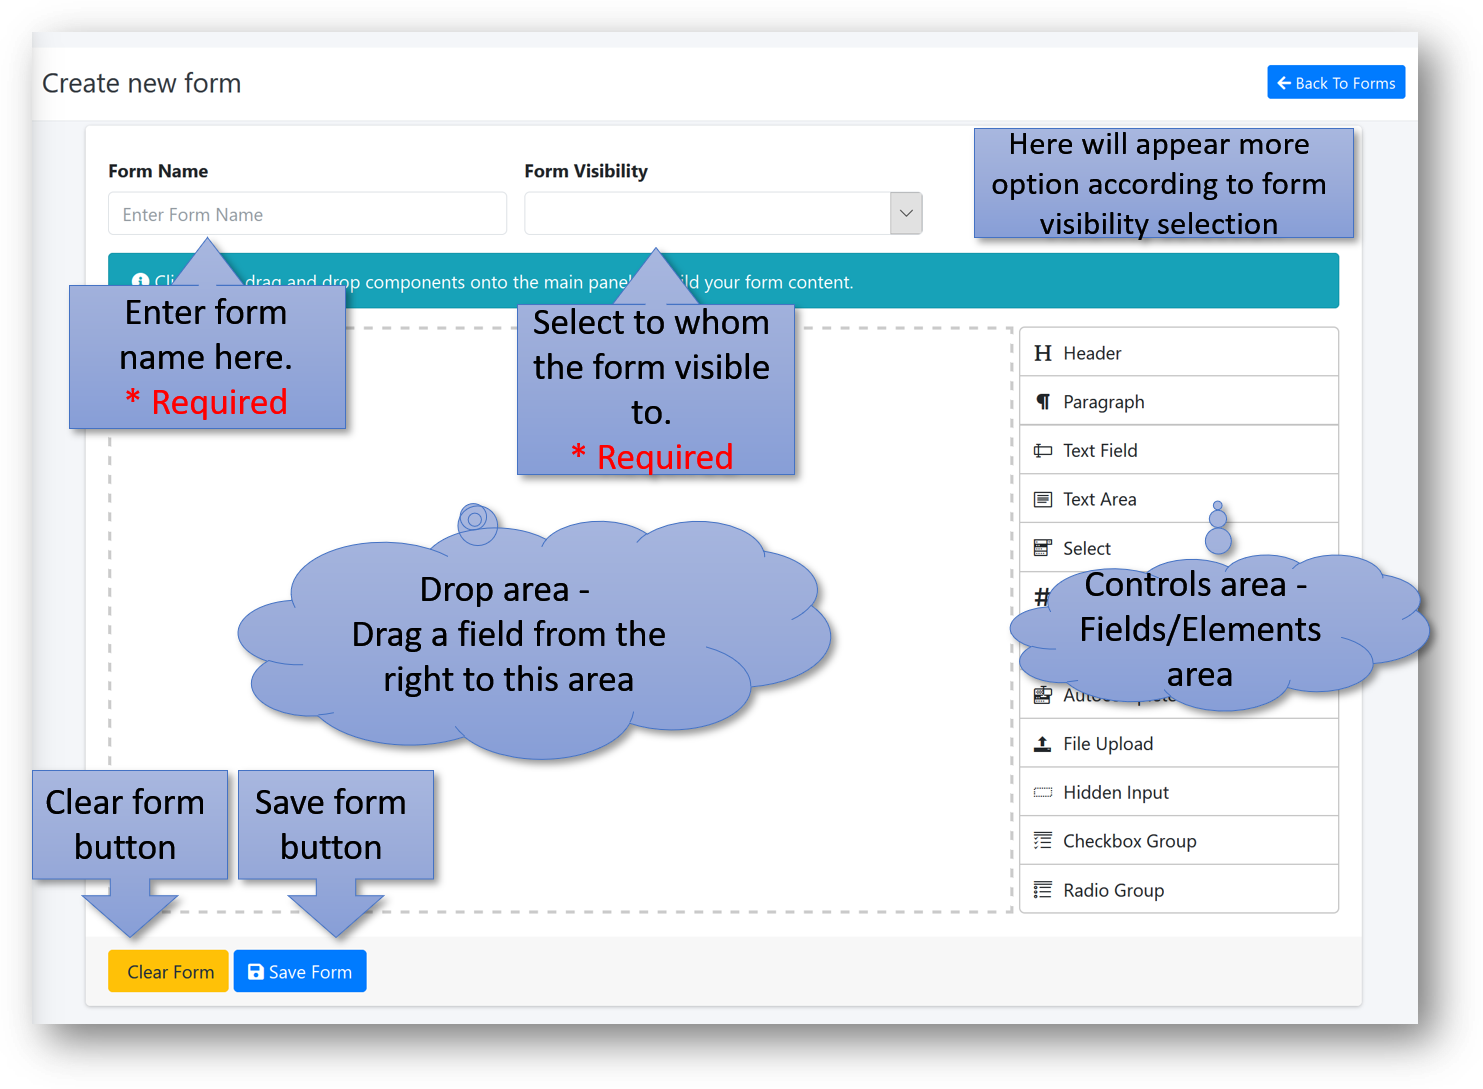
- Enter form name.(*Required)
- Select form visibility.(*Required)
- Public

- All users can access to the form
- Registered users

- All registered users can access to the form. The user must be logged in to access the form.
- Groups

- On the right, select the groups to which you want this form to be visible (multi-selections)
- Accessible to users in selected groups.
- Departments

- On the right, select the departments to which you want this form to be visible (multi-selections)
- Accessible to users in selected departments.
- Public
- Drag a field/elements from the controls area to drop
area.
- On the right side of each field there are three buttons,
which allow you to delete the field, edit the field or
duplicate the field:

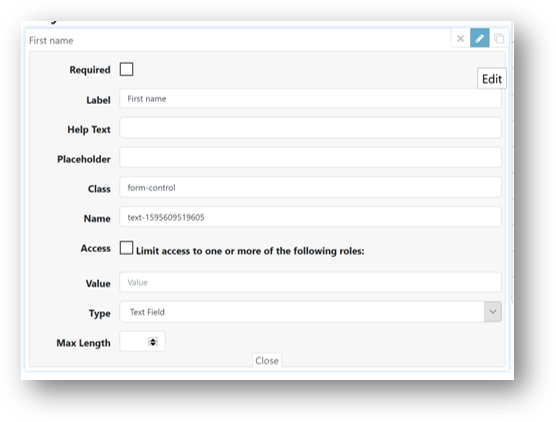
- Each field has many different properties that can be
edited:
- On the right side of each field there are three buttons,
which allow you to delete the field, edit the field or
duplicate the field:
- When you have finished building the form, click the 'Save Form' button.
- The new form you have built will be added to the form list
table:
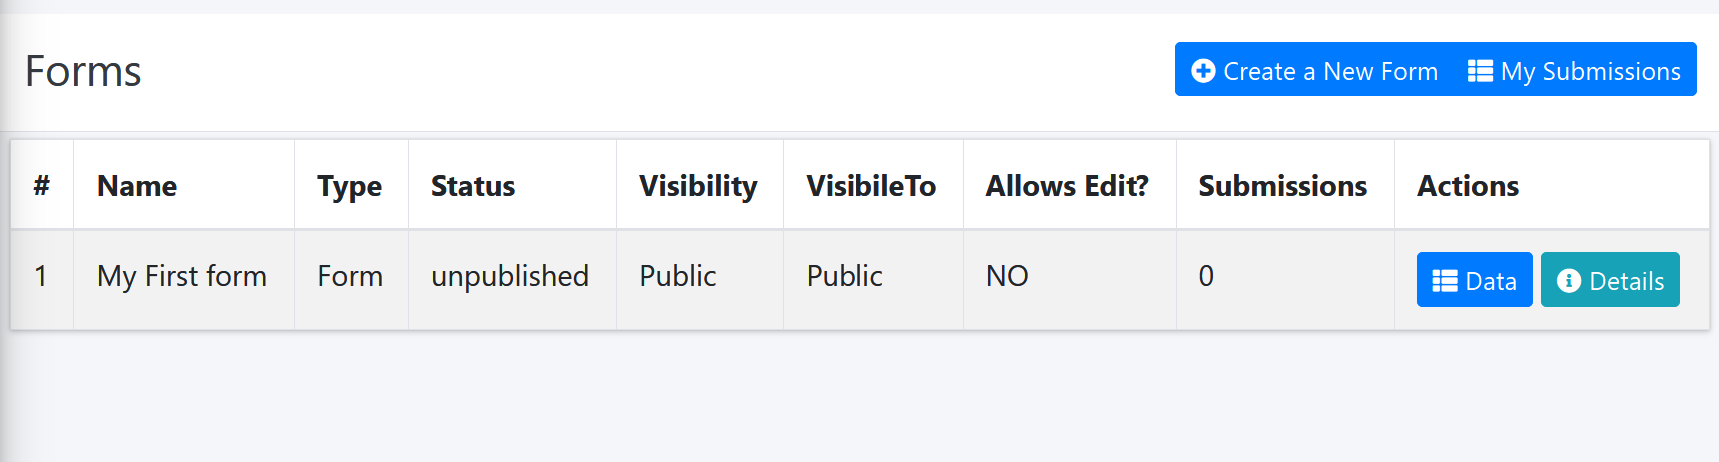
- As you can see in the Status column, this form has not yet been published, it means that a form is not yet accessible to the public. To publish the form and take further action, we will see in the next step.
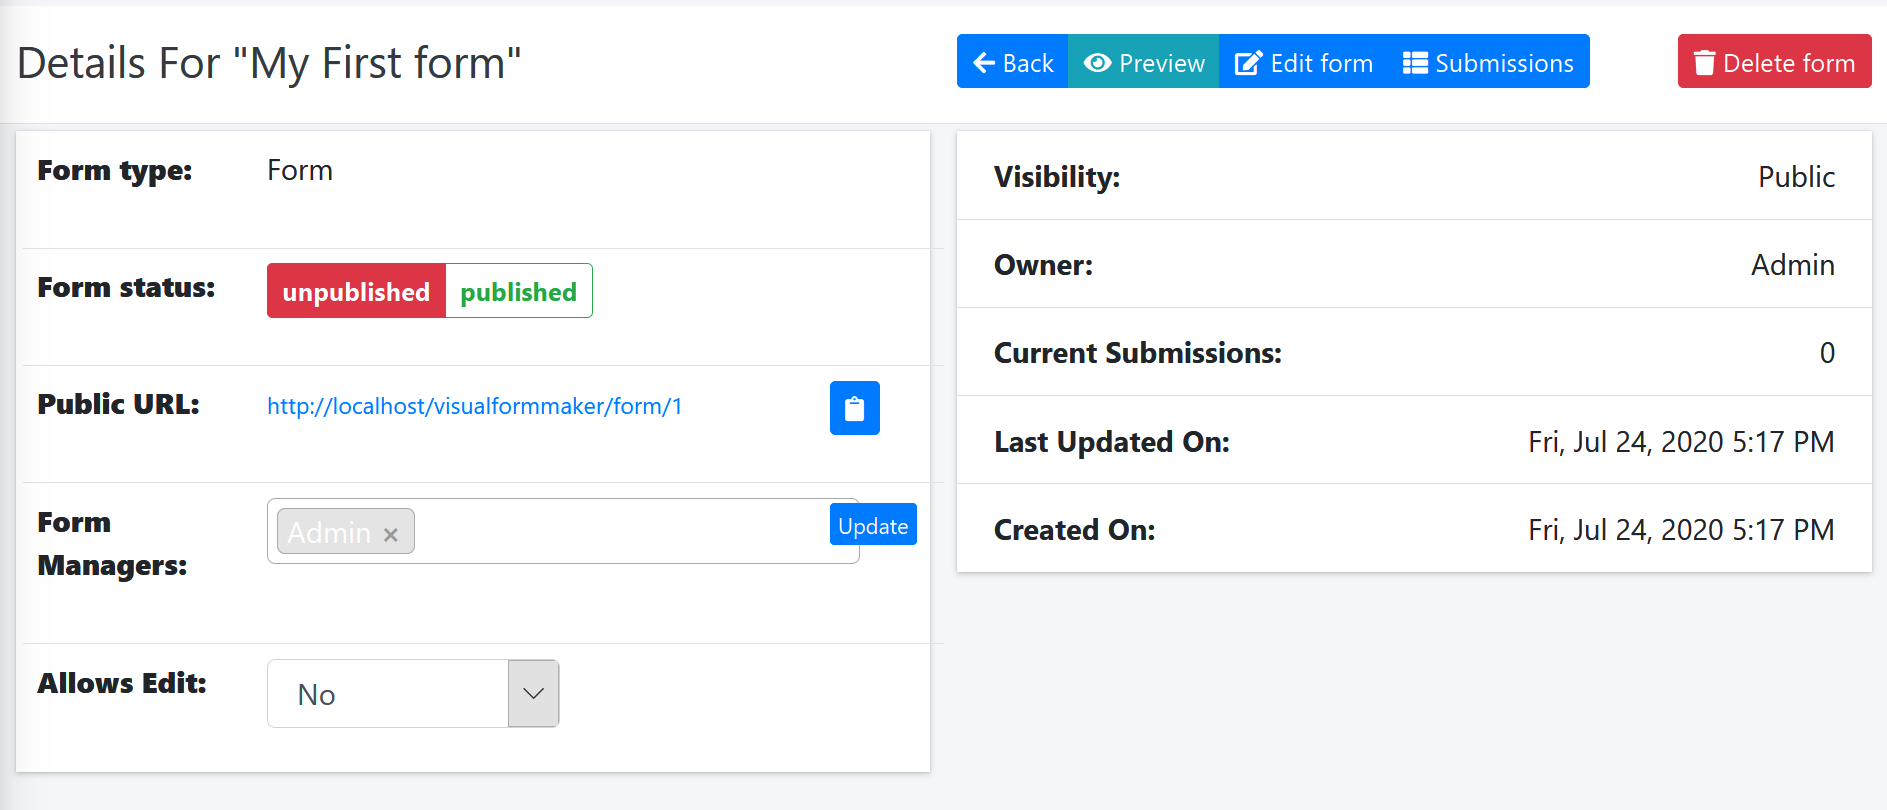
Form details
(publish/unpublished form, edit form, form url, preview form, etc.)
Click the 'Details' button in the 'Actions' column:
Buttons
| name | description |
|---|---|
| Preview | Shows the form - In case you want to see a preview before publishing. |
| Edit form | Edit the form - In case you want to fix, add fields, etc. |
| Submissions | show all submitted data of this form in table. |
| Delete form | Deleting the forms and all submitted data. |
Other fields
| name | description |
|---|---|
| Form status | publish or unpublished form by clicking the desire
button. note: if you publish the form,you cannot to edit the form. |
| Public URL | The url of the form. You can copy the form by clicking the button next the url. |
| Form Managers | List of users who can edit managing the form. |
| Allows Edit | Can the user edit the form he filled out after submitting it. (Not relevant to public form) |
| Visibility | To whom the form is accessible. Can only be changed by edit mode |
| Owner | User who created the form |
| Current Submissions | Total Submissions for this moment. |
| Last Updated On | Date the form was recently edited |
| Created On | Date the form was created |
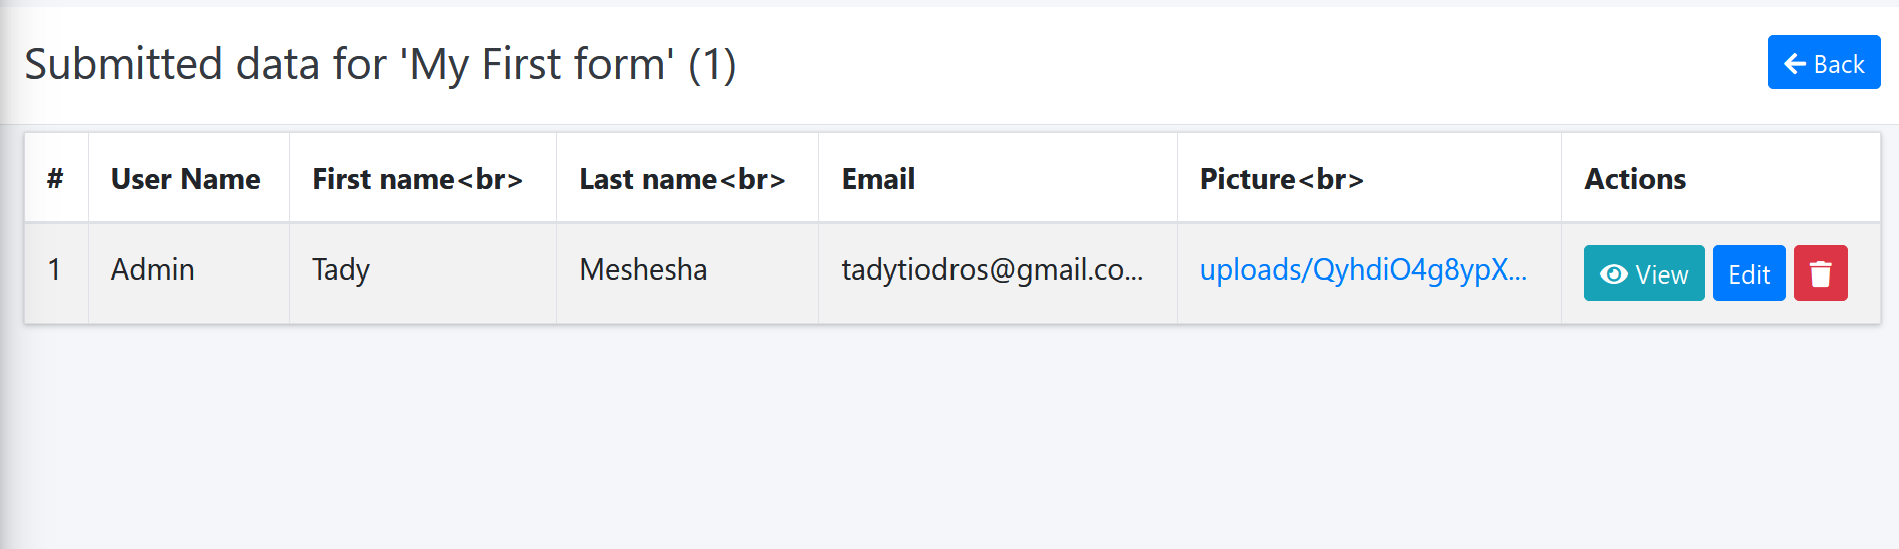
Submitted form data
There are two ways to show submitted data of a form:
- 'All forms' table and click the 'Data' button on 'Actions' column.
- In form details page click 'Submissions' button.
Submitted form data table:
Submitted details data page:
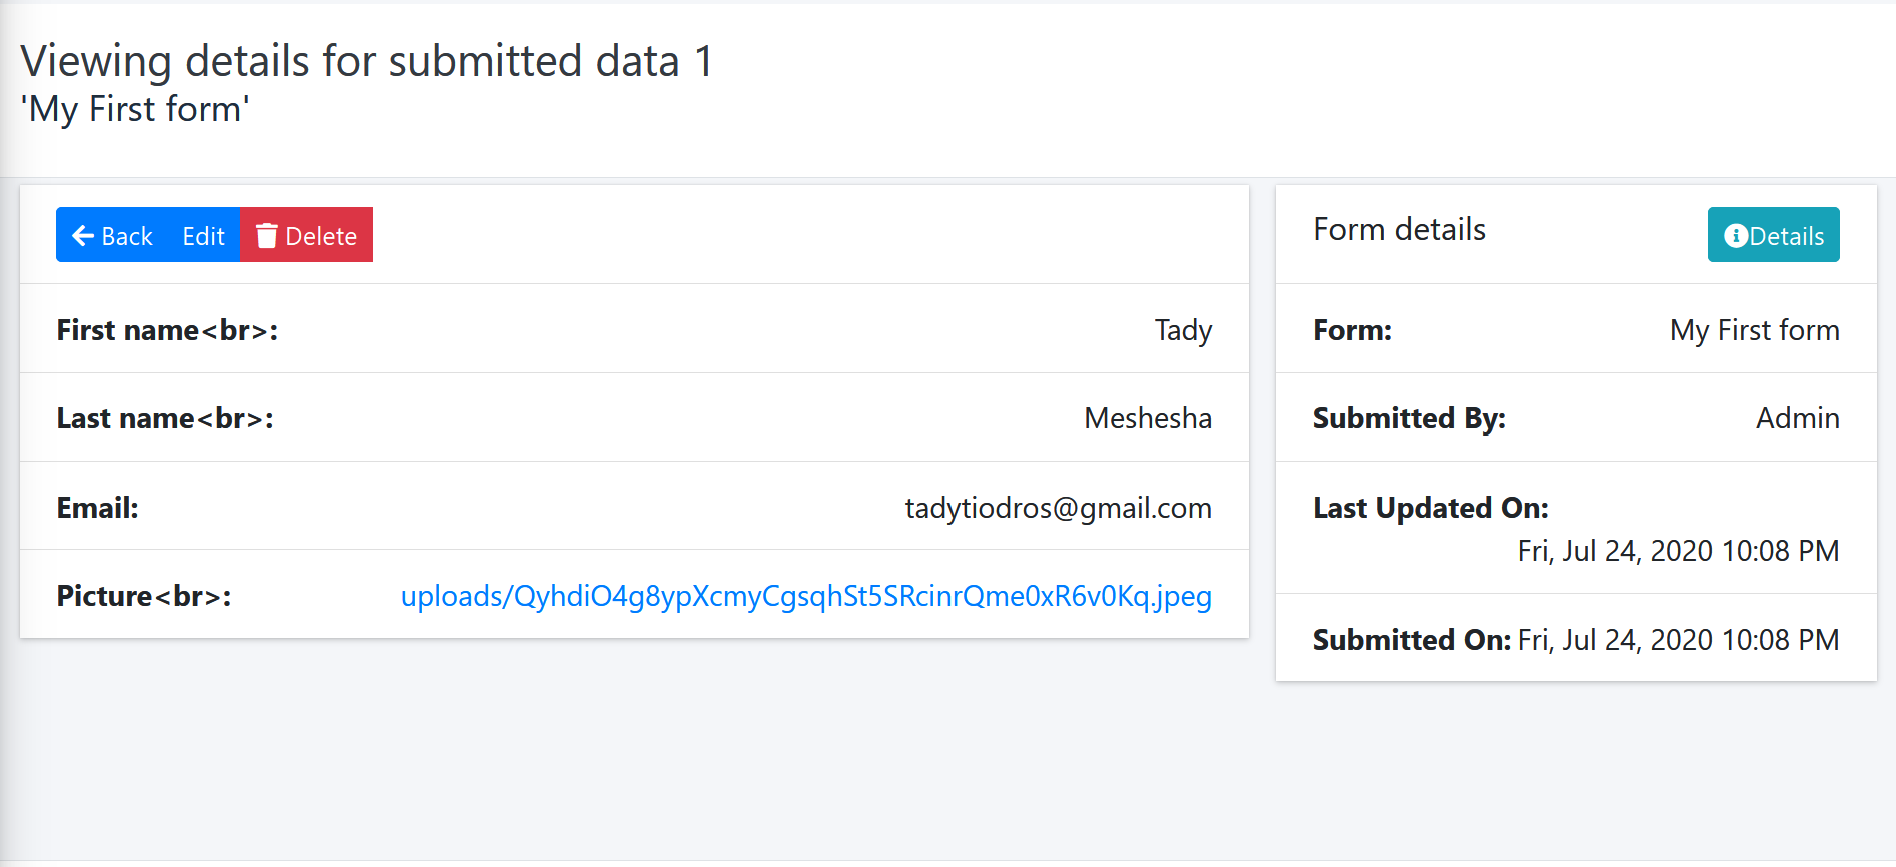
Buttons
| name | description |
|---|---|
| View | Shows details |
| Edit | Re-edit the submitted data.(if 'Allows Edit' => 'yes' ) |
| Delete | Delete the submitted data. |
| Details (in Submitted details data page) | Goto form details page. |
My Submissions
List of forms submitted by the user.
Click 'My Submissions' link in main dashboard area or in sidebar menu click 'Forms' and then click 'My Submissions'.
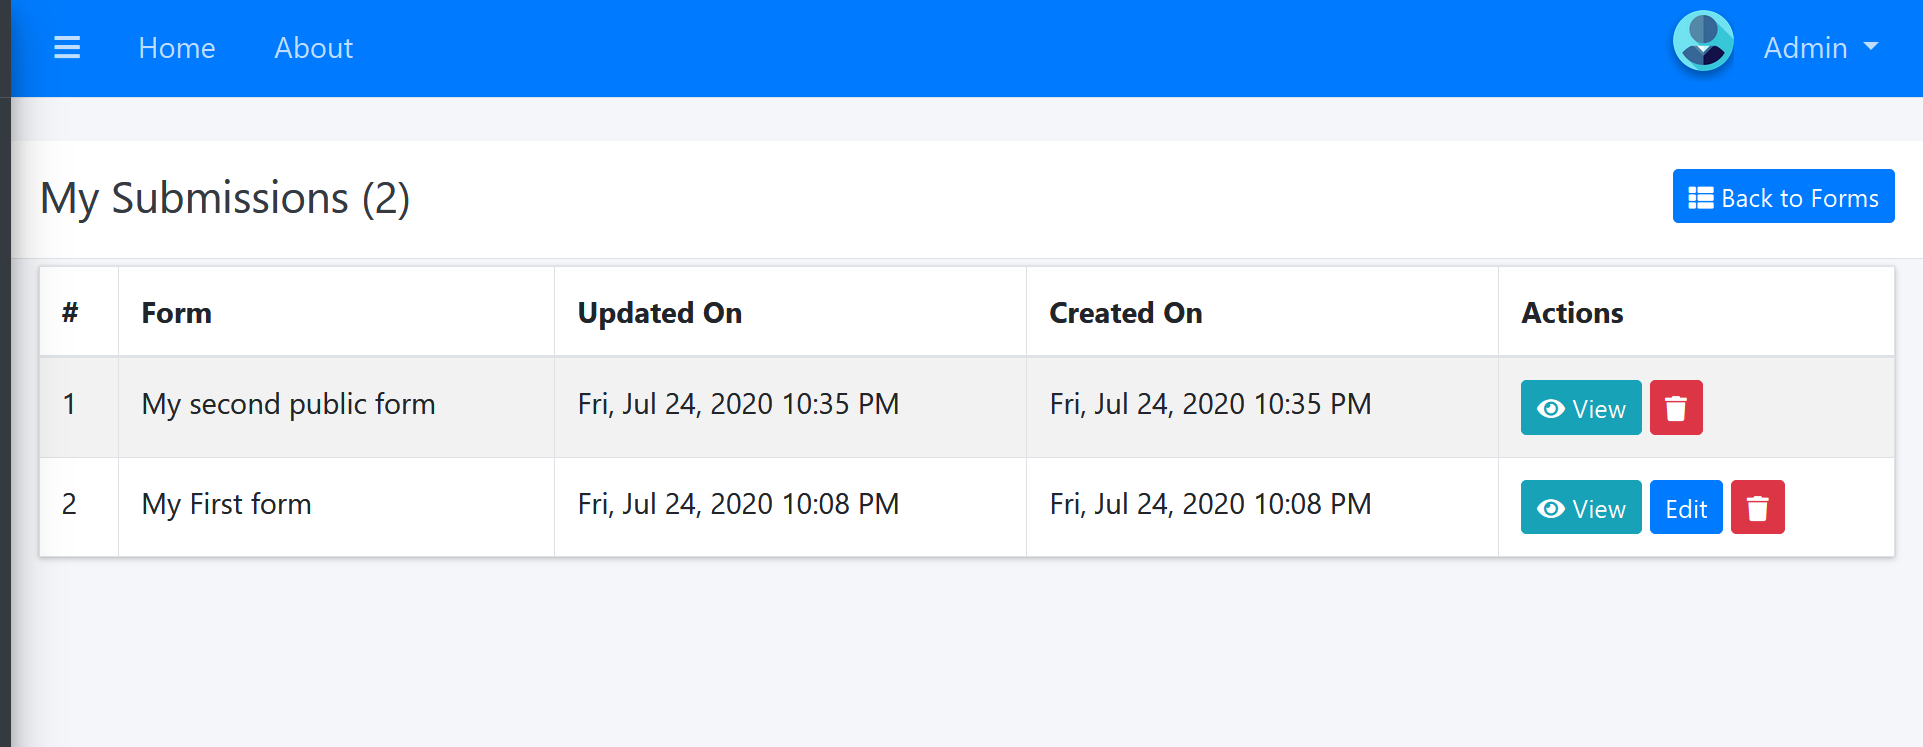
description
| name | description |
|---|---|
| 'Form' column | The form name. |
| 'Updated On' column | Date and time the form was updated and resubmitted, if not updated then it will be the same as the date and time the form was first submitted. |
| 'Created On' column | Date and time the form was first time submitted. |
| 'View' button | shows submitted details data page |
| 'Edit' button | Re-edit the submitted data.(if 'Allows Edit' is 'yes' ) |
| 'Delete' button | Delete the submitted data. |
Users
Click 'Users' link in main dashboard area or in sidebar menu .
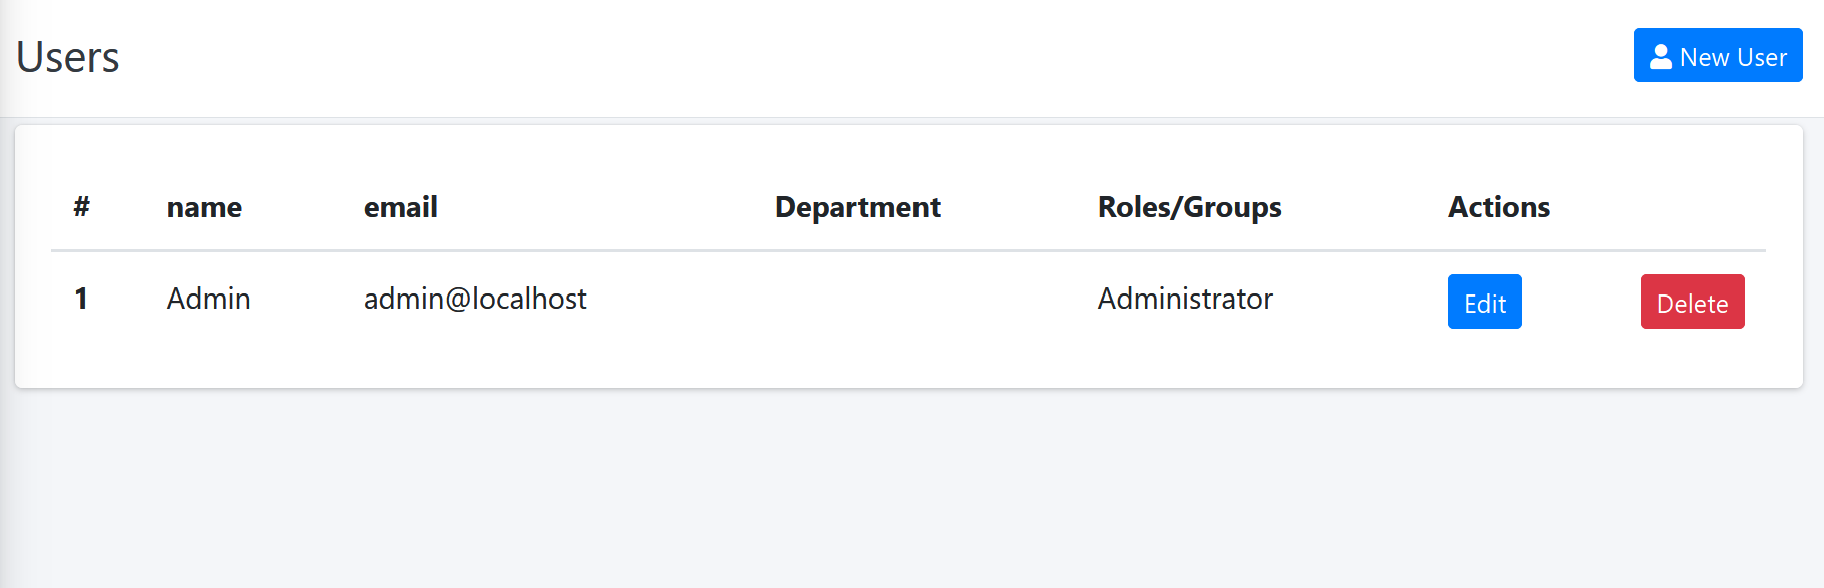
description
| name | description |
|---|---|
| 'Name' column | The user name. |
| 'email' column | The user email. |
| 'Department' column | The user Department. can be only one Department. |
| 'Roles/Groups' column | The user Roles/Groups. user can have multiple roles/groups. |
| 'Edit' button | Edit and update user data. |
| 'Delete' button | Delete the user. |
| 'New user' button | Create new user |
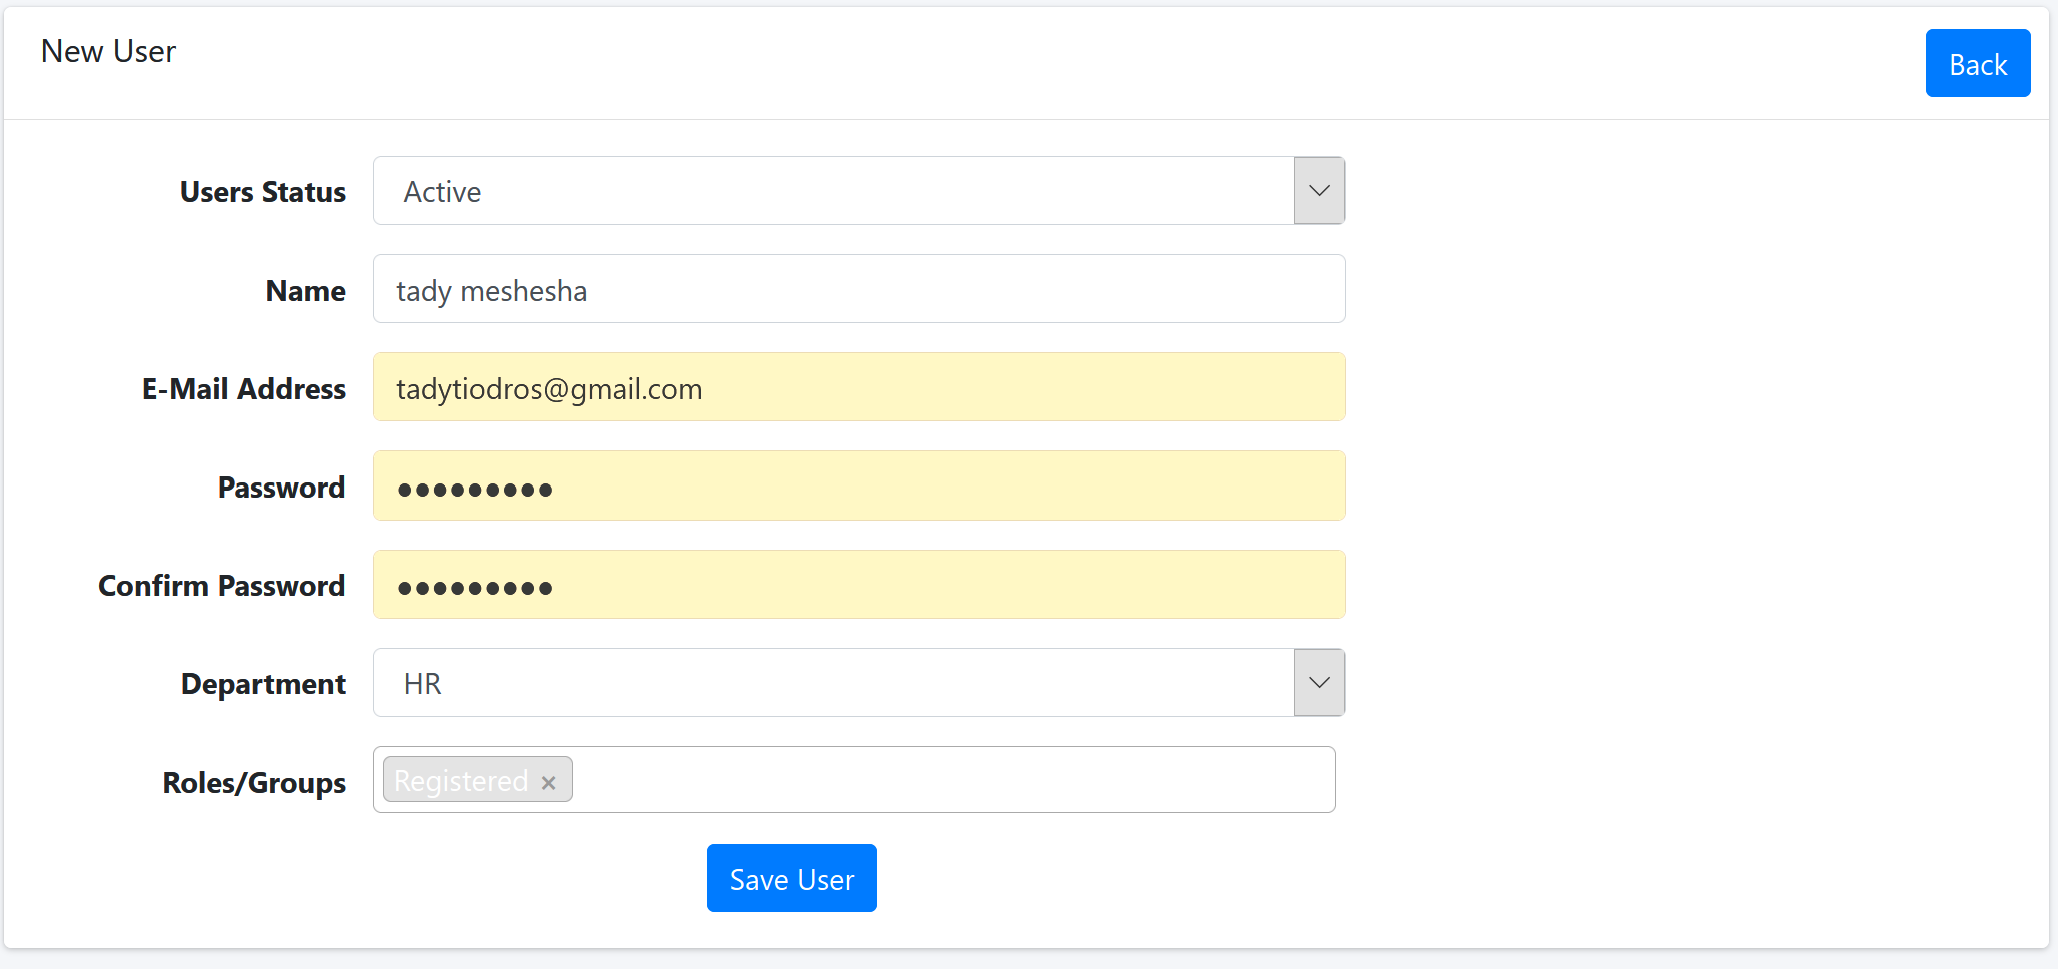
New user
create a new user.
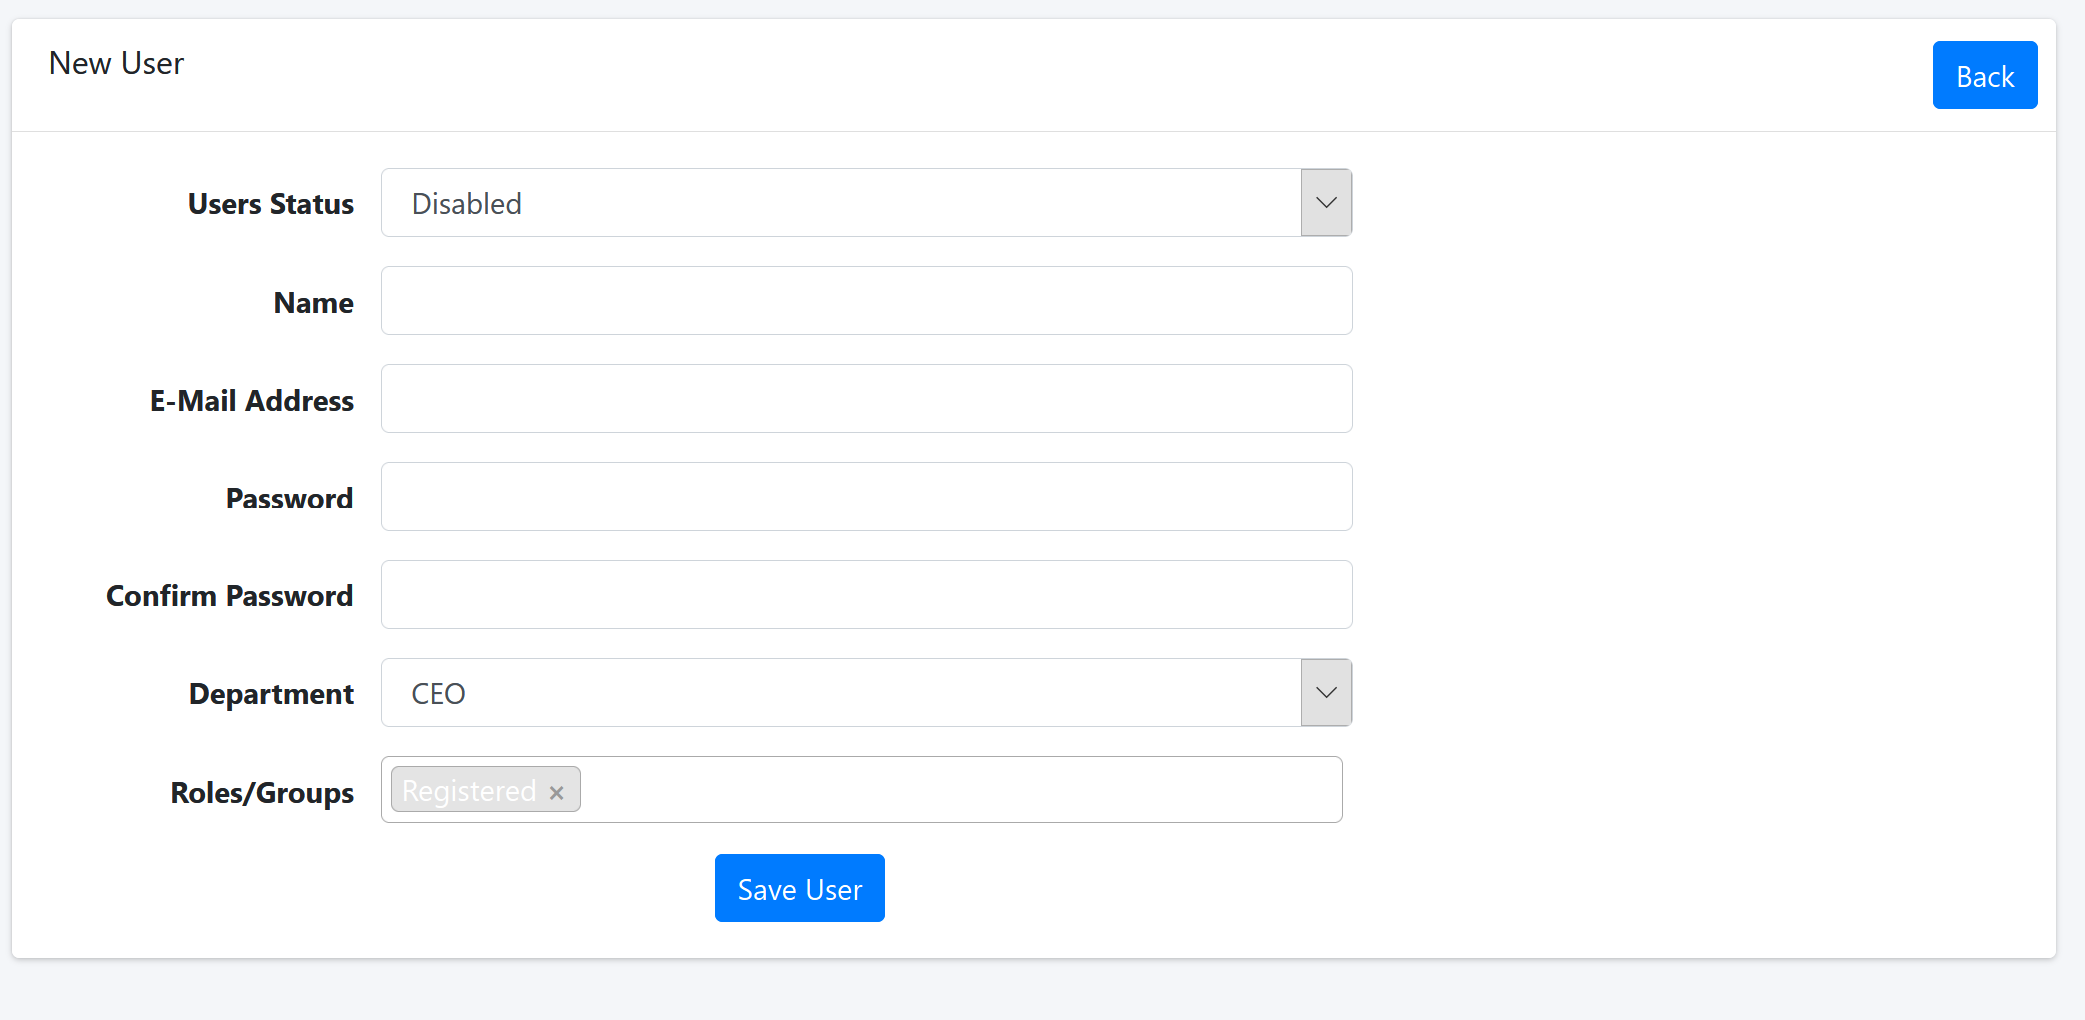
Fill in the fields and click the 'Save User' button:
Edit user
Edit and update user data.
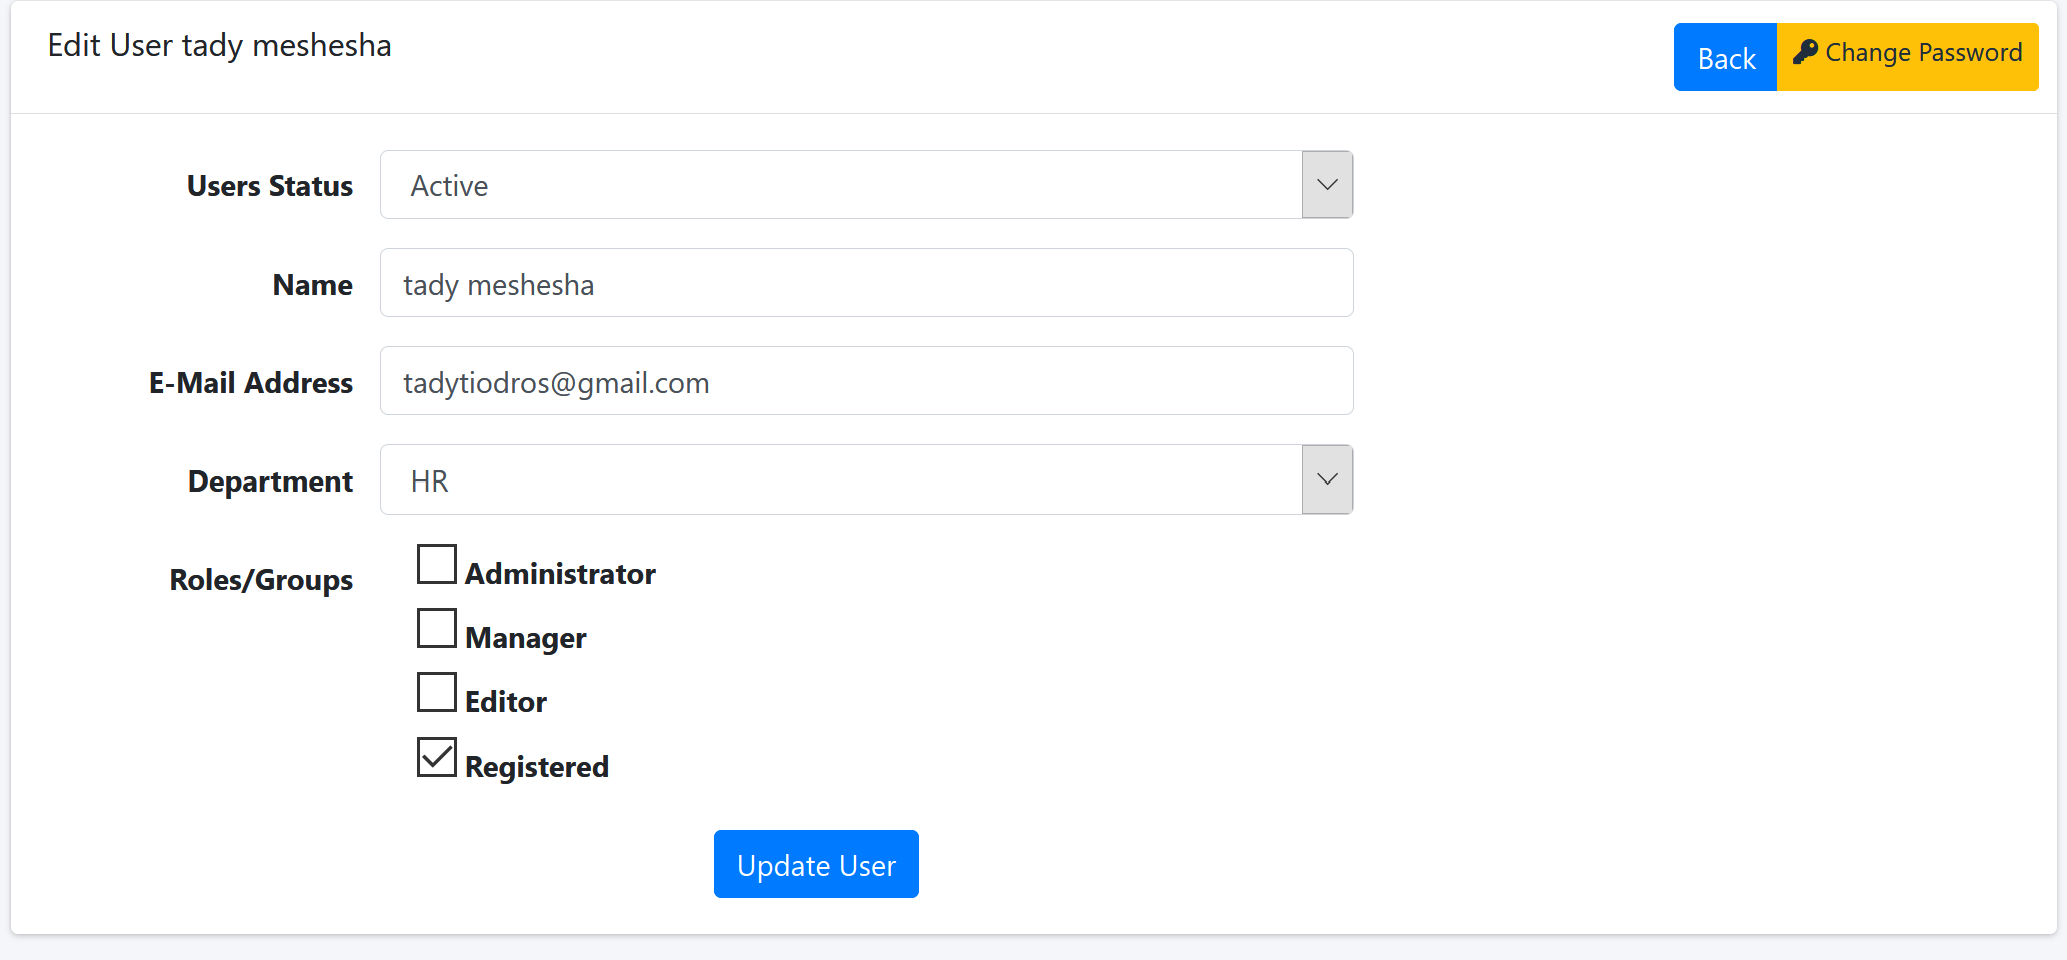
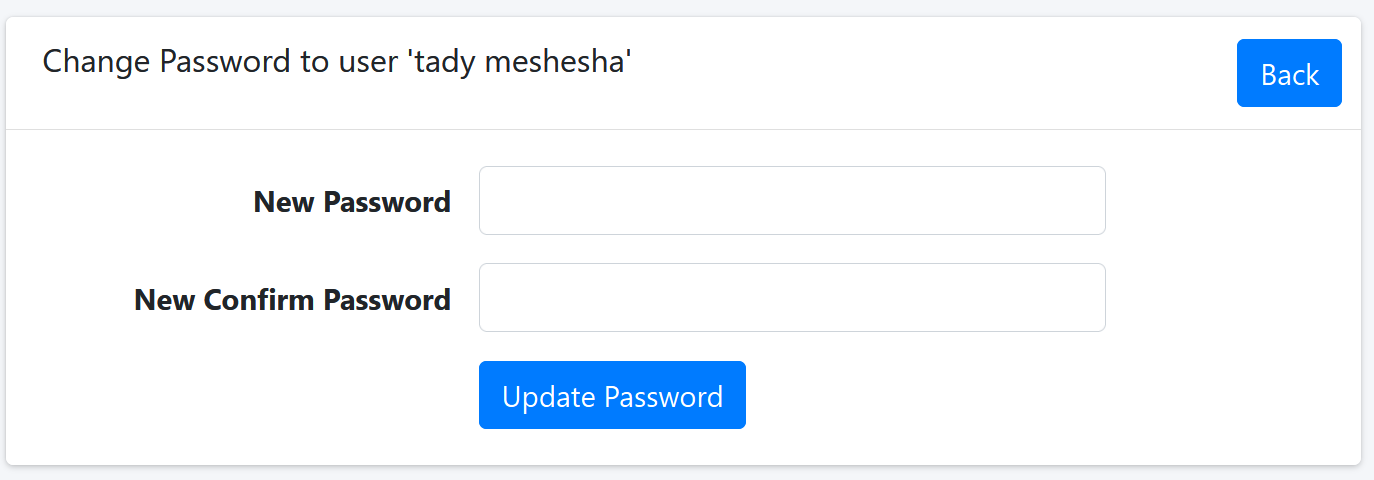
Here you can also change and reset the user's password:
Click the 'Change Password' button:
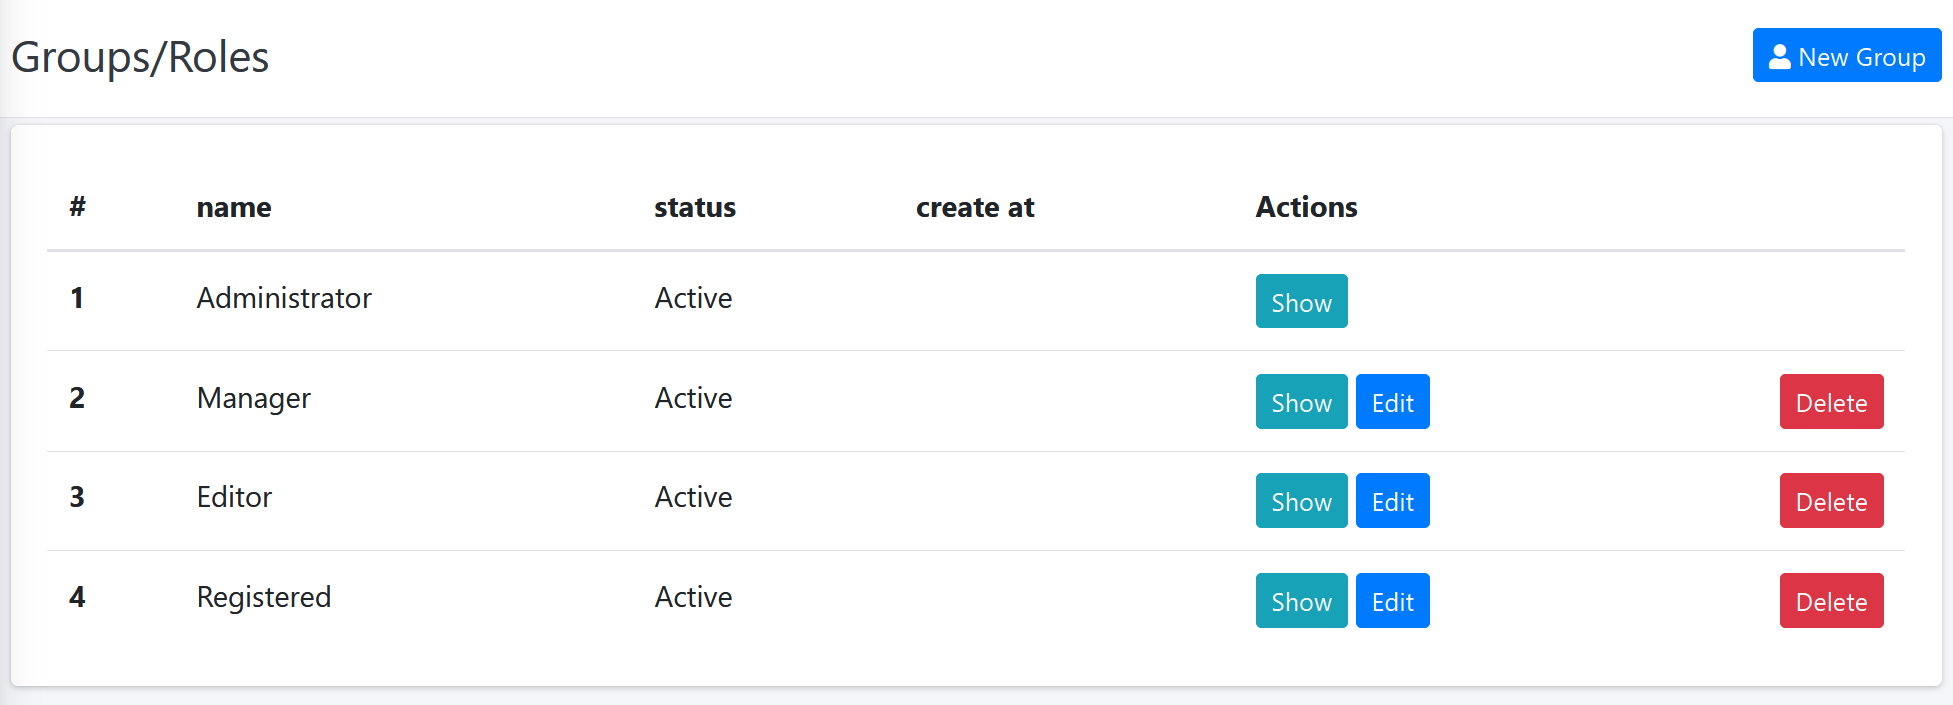
Groups/Roles
Click 'Groups' link in main dashboard area or 'Groups/Roles' link in sidebar menu .
description
| name | description |
|---|---|
| 'Name' column | The Group name. |
| 'status' column | If the group is active or disabled. |
| 'create at' column | The date the group was created |
| 'Show' button | display the group data and list of members.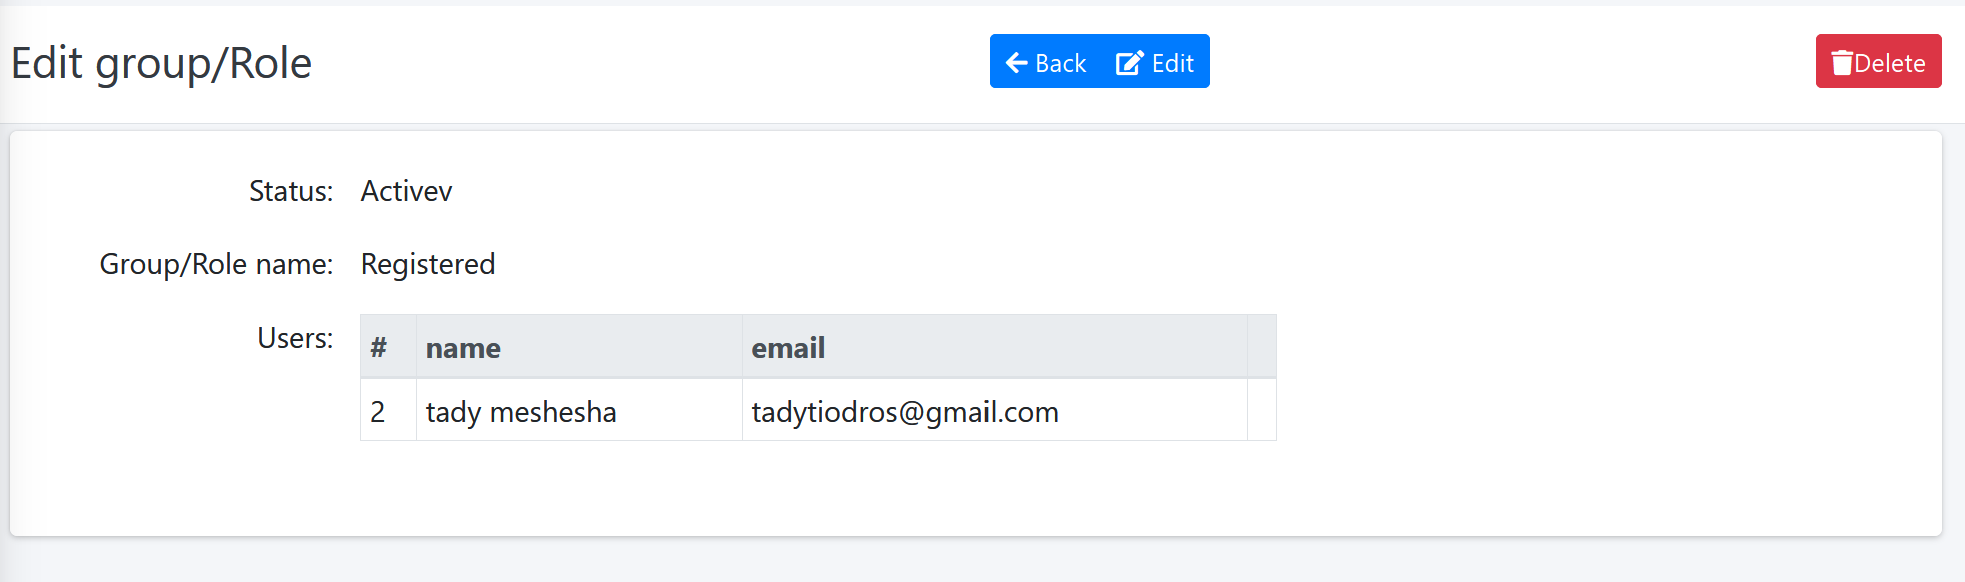
|
| 'Edit' button | Edit and update group data (status and name).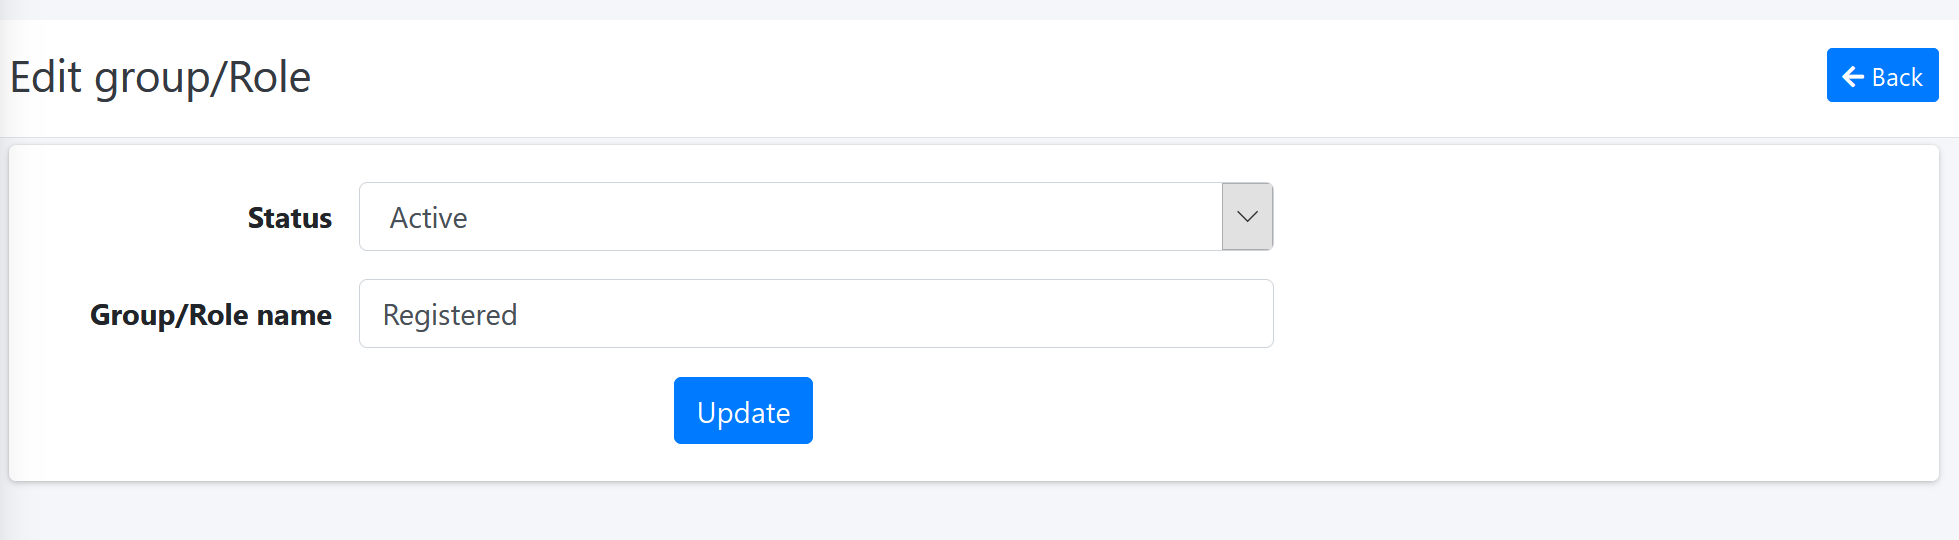
|
| 'Delete' button | Delete the group. |
| 'New group' button | Create new group.
|
'Administrator' - full control of the system.
'Manager' and 'Editor' - partial control.
Organization
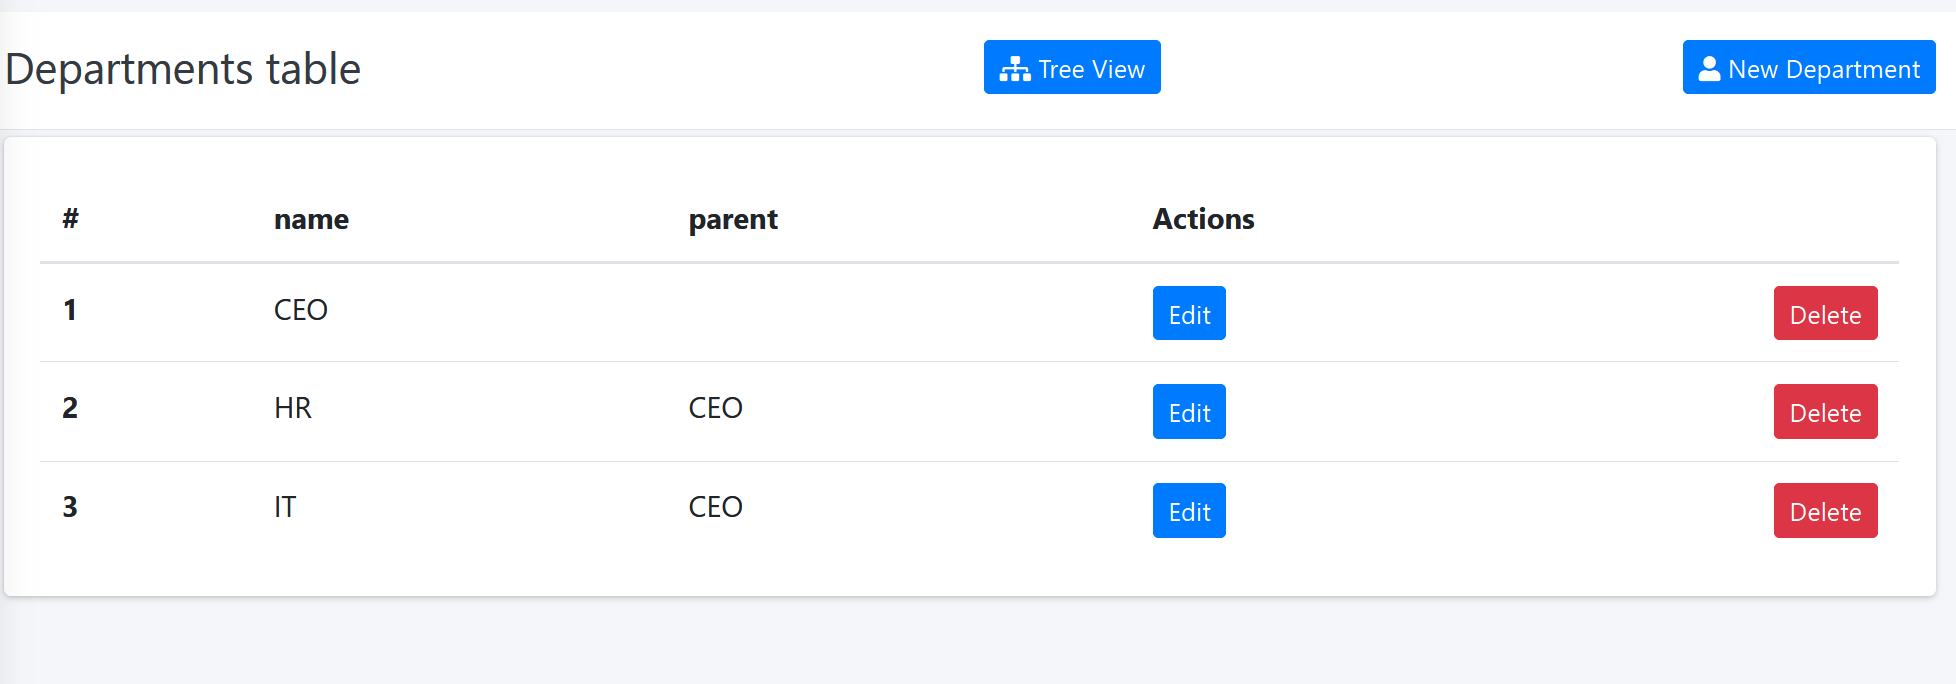
Departments - Table view
Click 'Departments' link in main dashboard area OR
'Organization tree' => 'Table view' link in sidebar menu OR
click 'Table view' button in 'Tree view' page .
description
| name | description |
|---|---|
| 'Name' column | The Department name. |
| 'parent' column | the name of the parent department. |
| 'Edit' button | Edit and update department data. You can change a name , change
the
parent department and add or remove users.
|
| 'Delete' button | Delete the department. |
| 'New department' button | Create new department.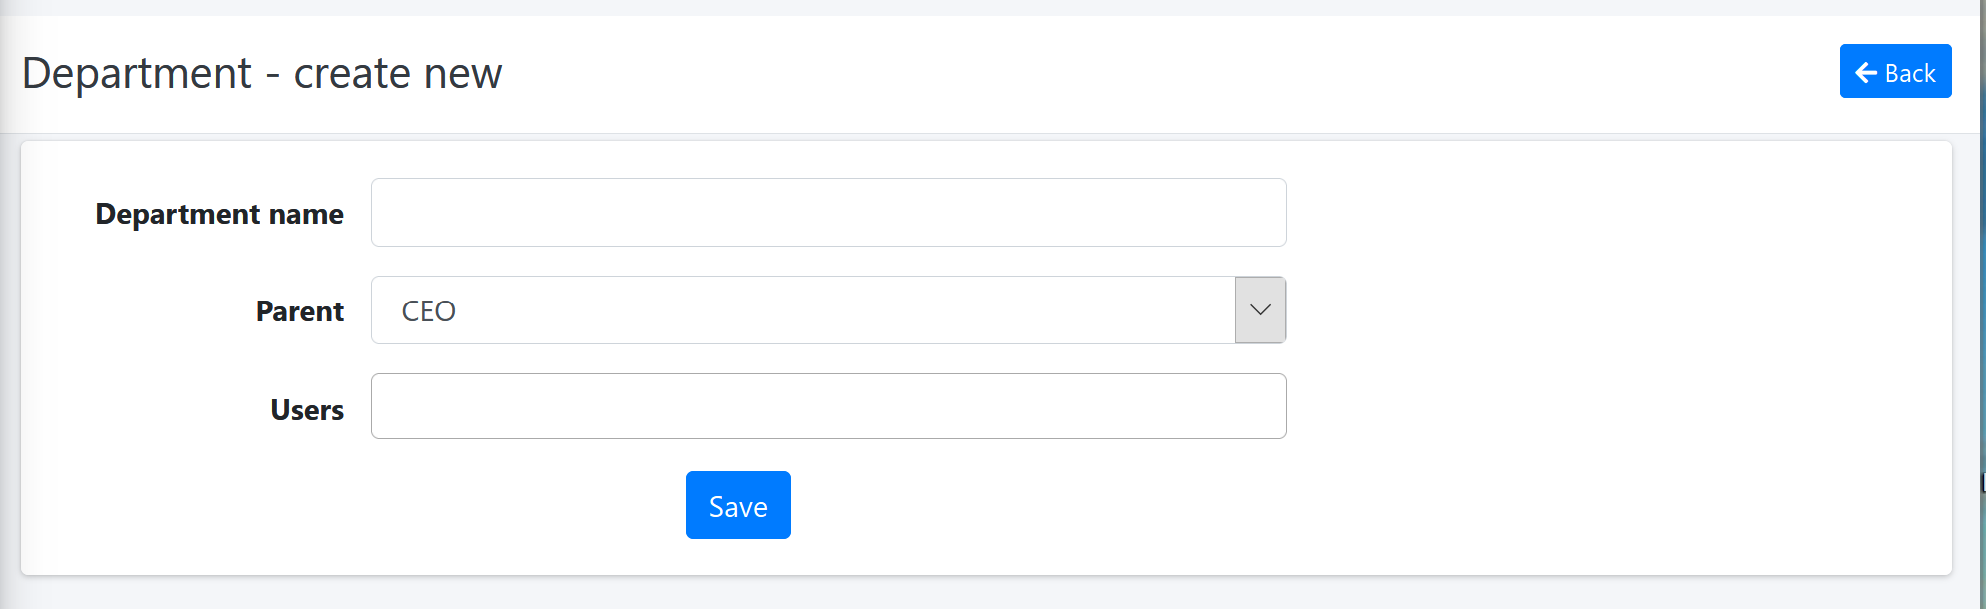
|
| 'Tree view' button | Taking you to 'tree' view . |
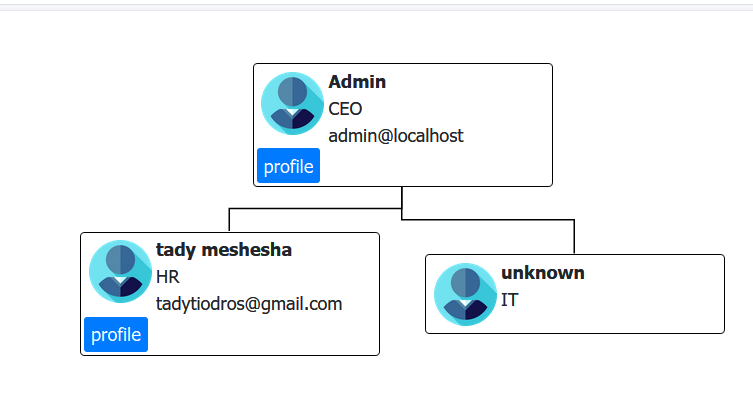
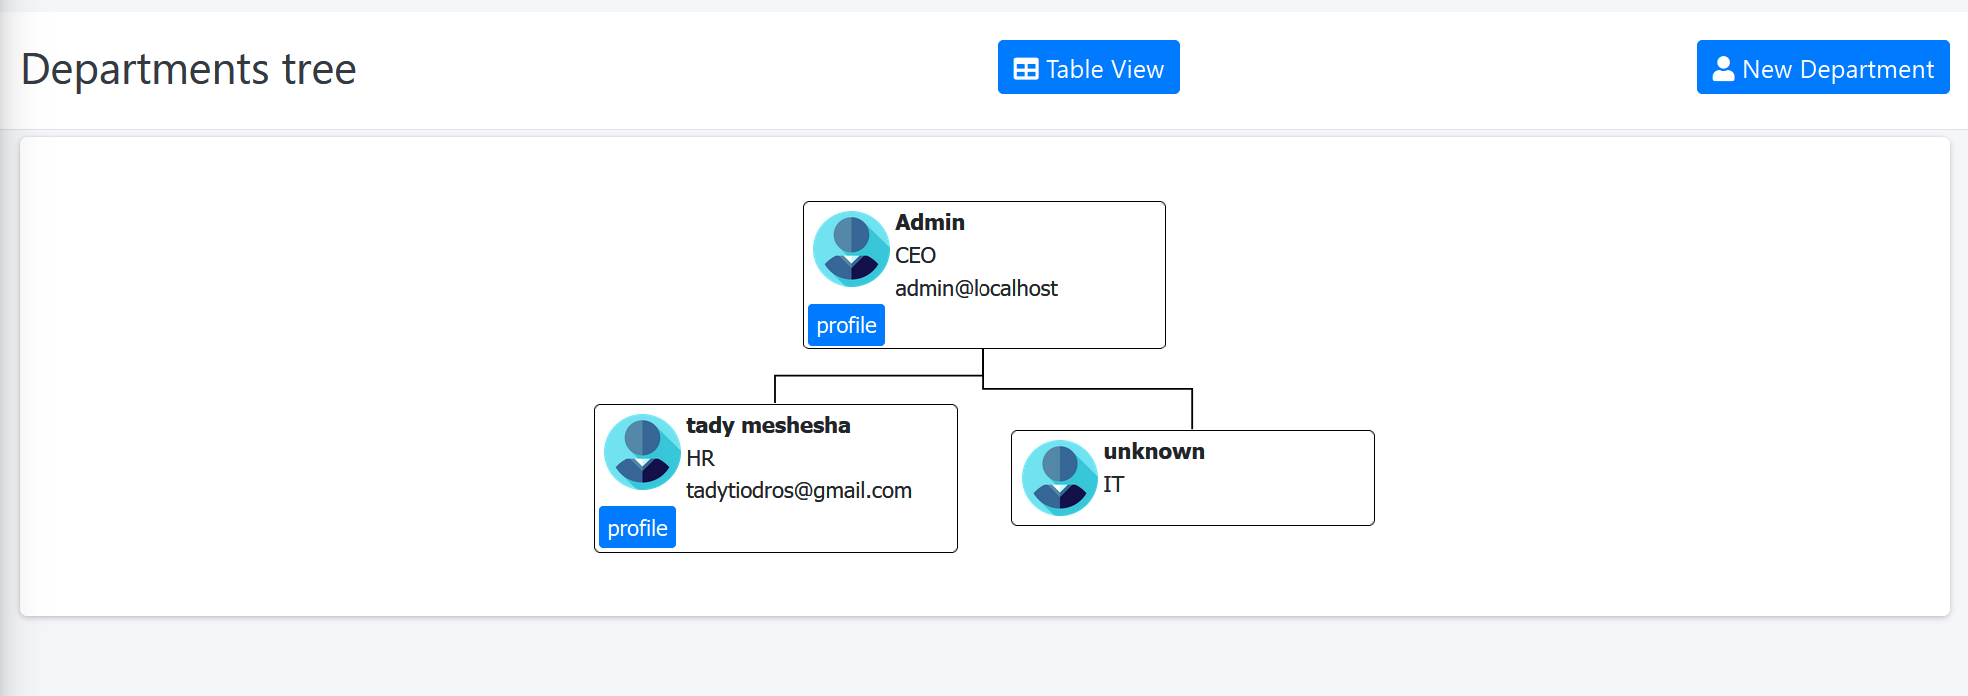
Departments - Tree view
This page shows the organization in tree view mode.
'Organization tree' => 'Table view' link in sidebar menu OR
click 'Tree view' button in 'Table view' page.
description
| name | description |
|---|---|
| 'New department' button | Create new department.
|
| 'Table view' button | Taking you to 'table' view . |
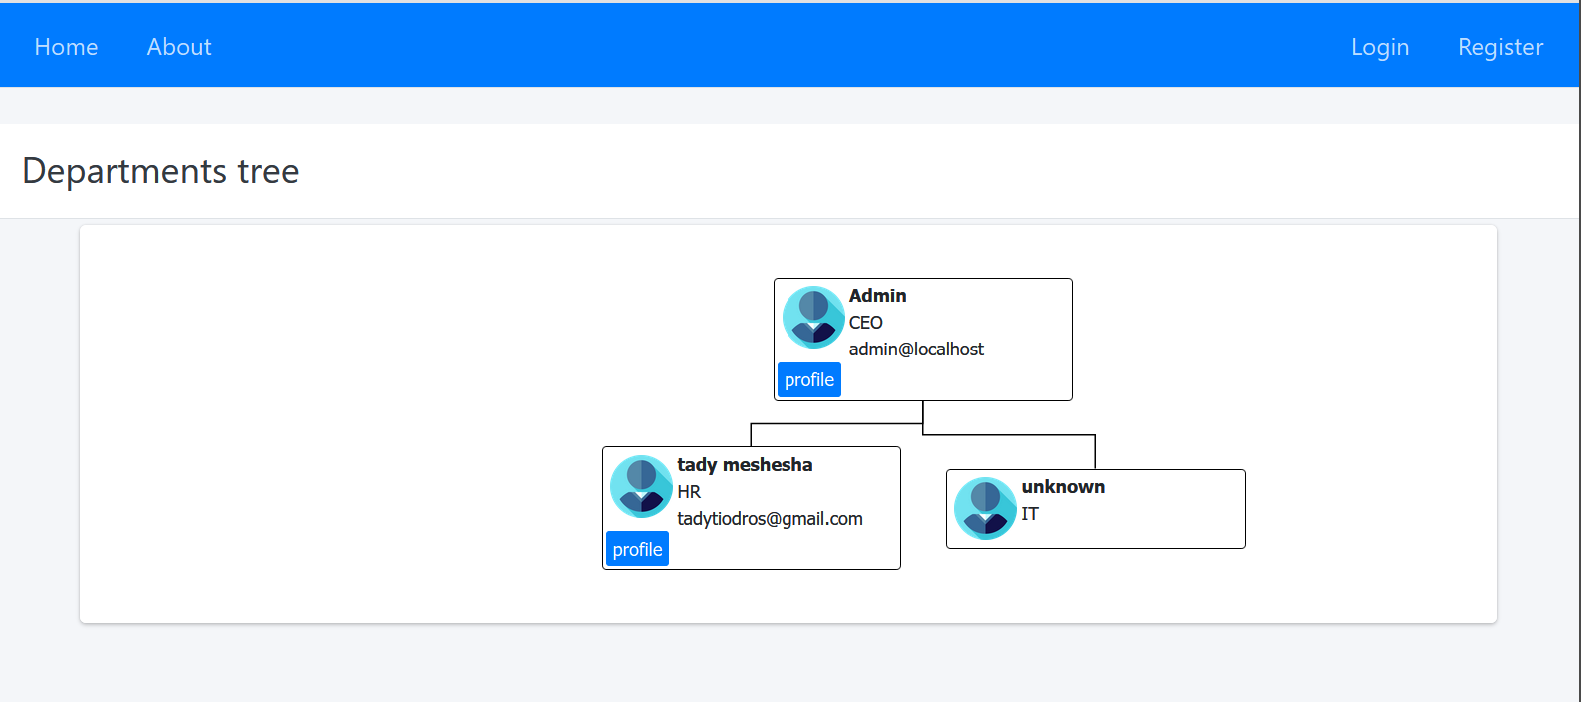
| 'profile' button (inside user node) | Display user profile page.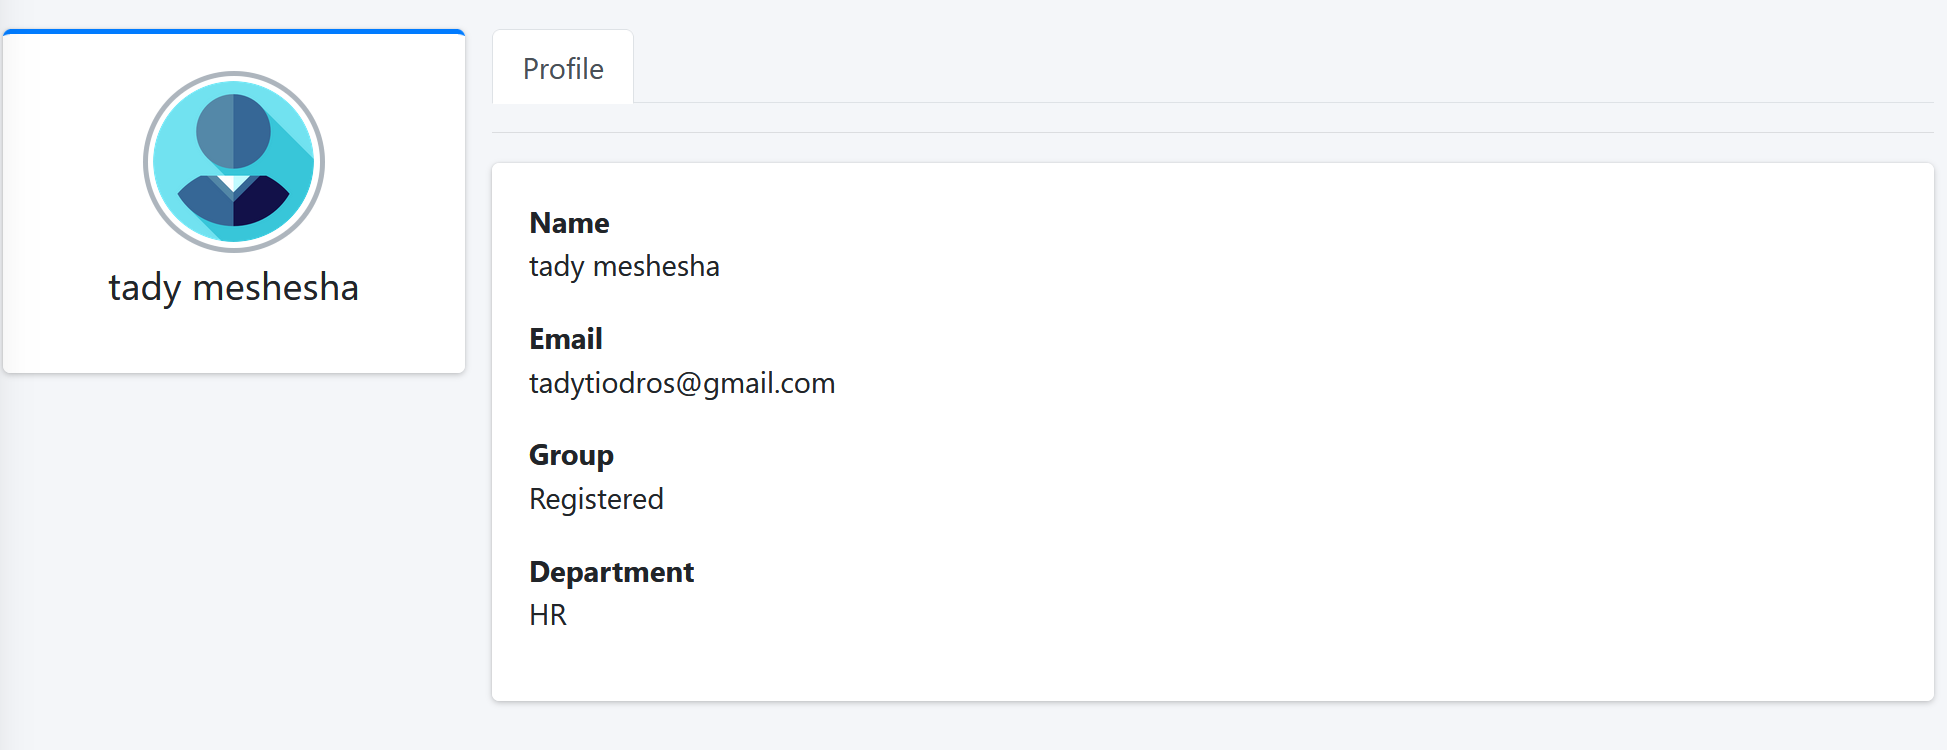
The user profile page is can be available to public (all
users can see it without login).
|
You can control the user's profile data that shown in this page from the settings page.
Settings
'Settings' link in sidebar menu.
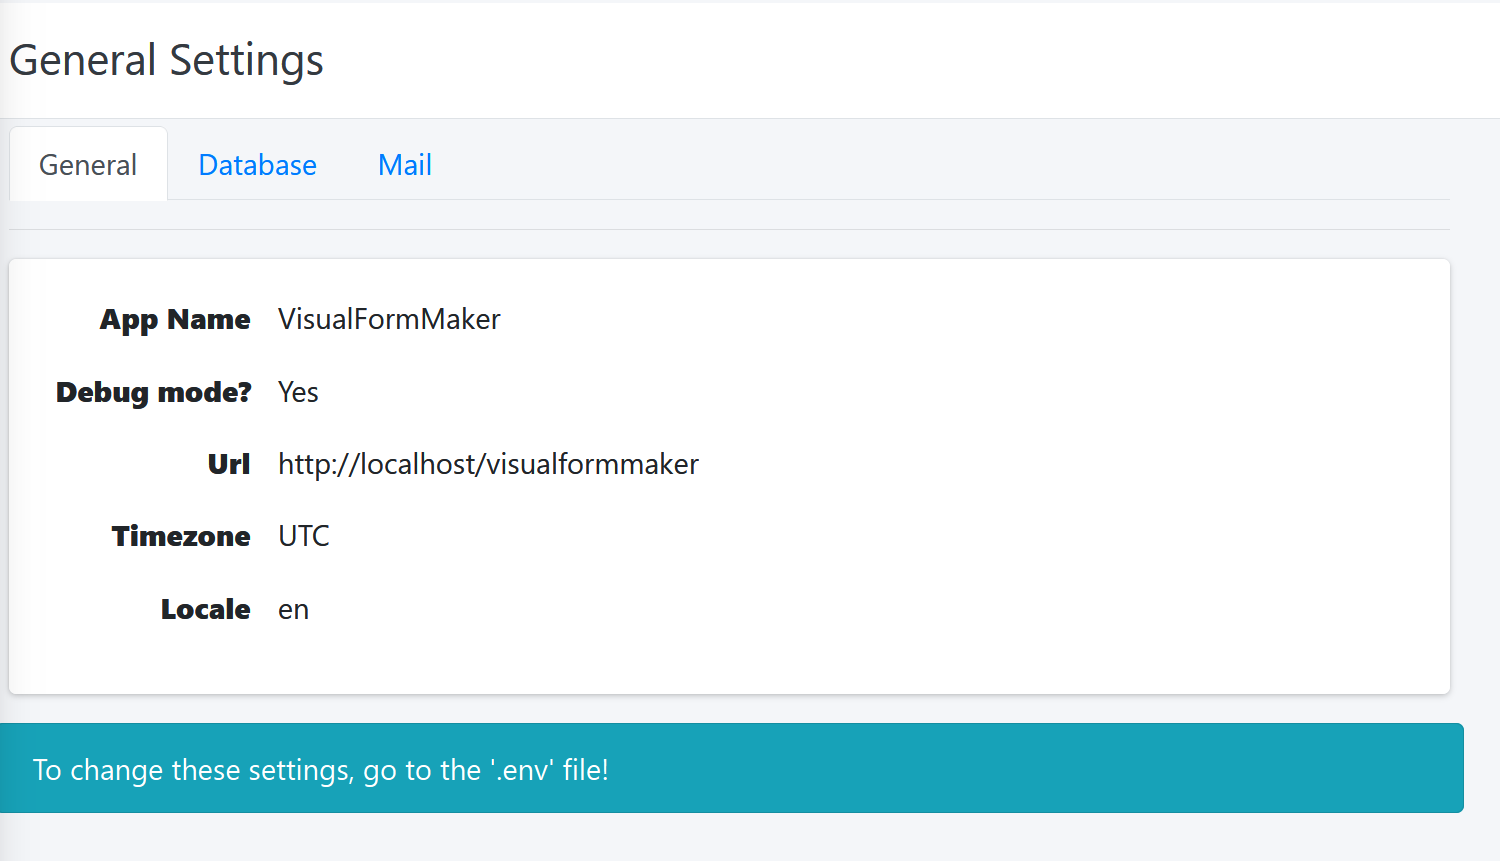
General
'Settings' => 'General'.
General Tab - Application Settings
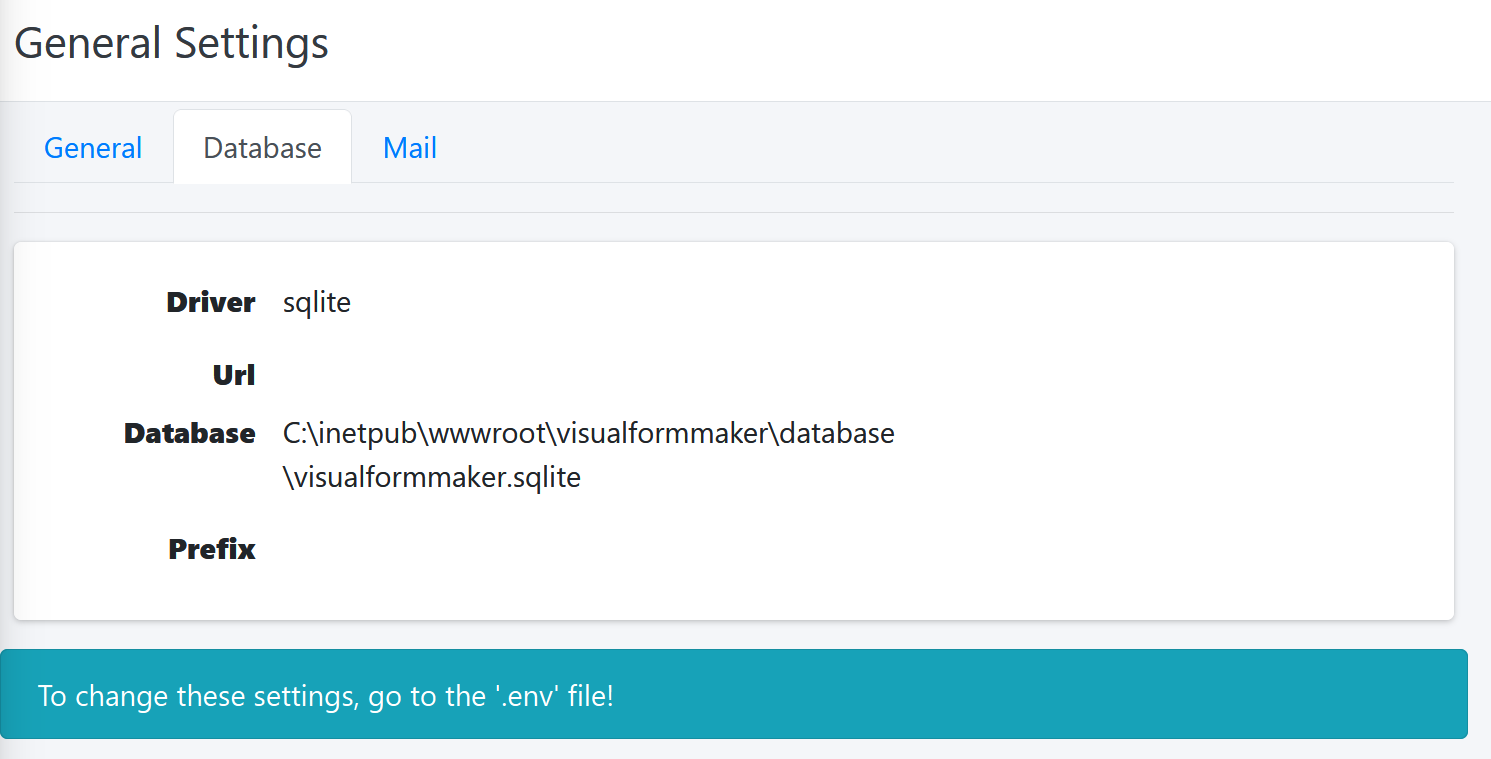
Database Tab - Database Settings
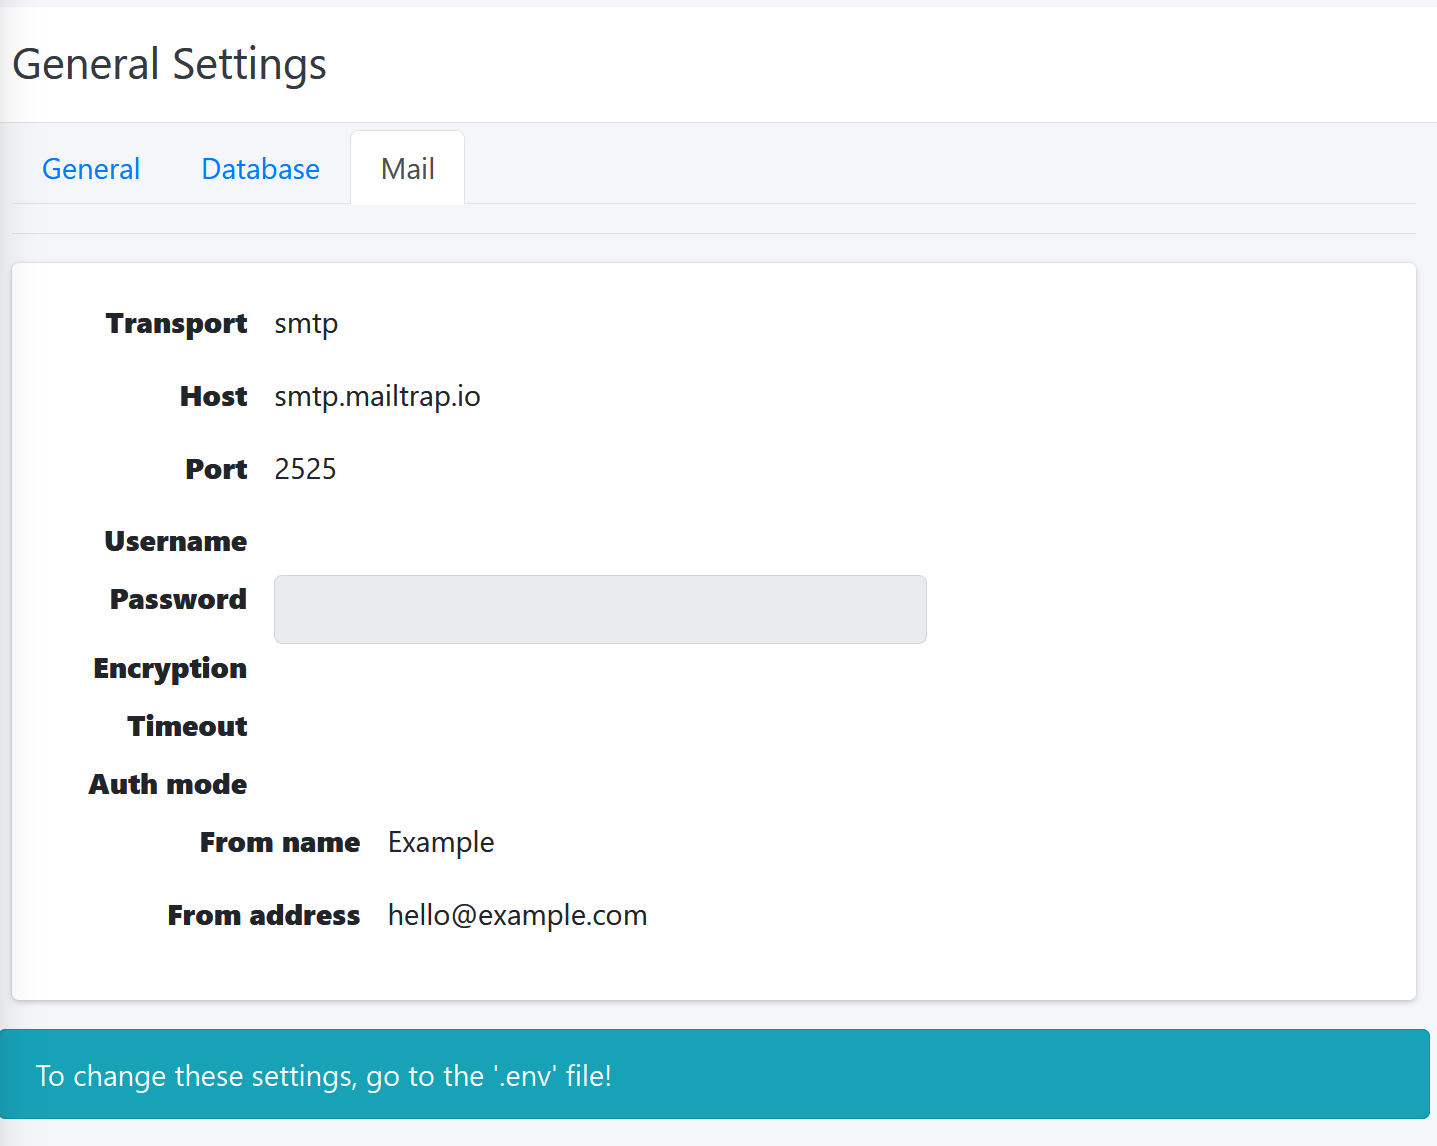
Mail Tab - Mail Settings
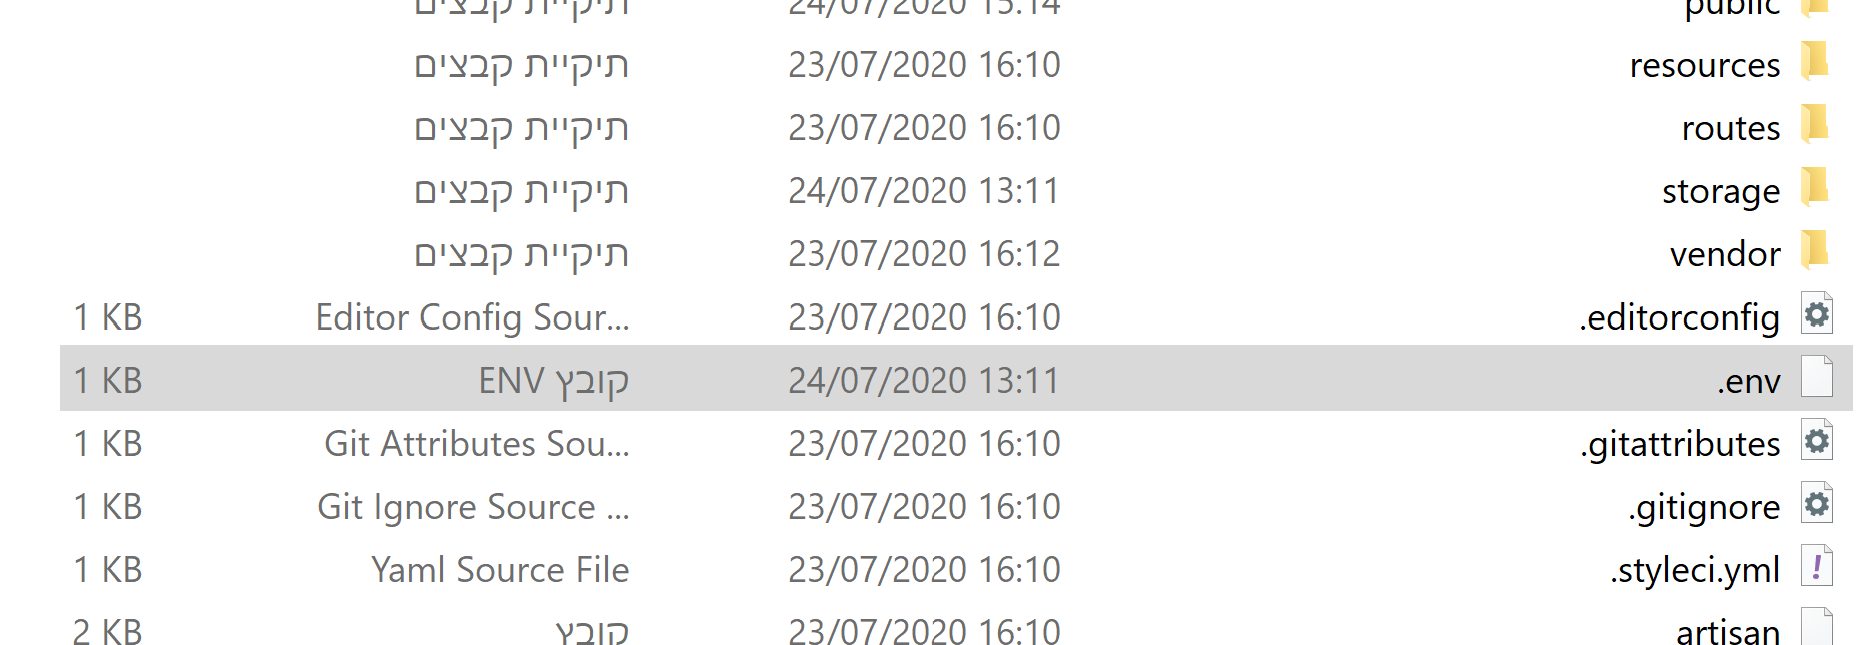
env file location
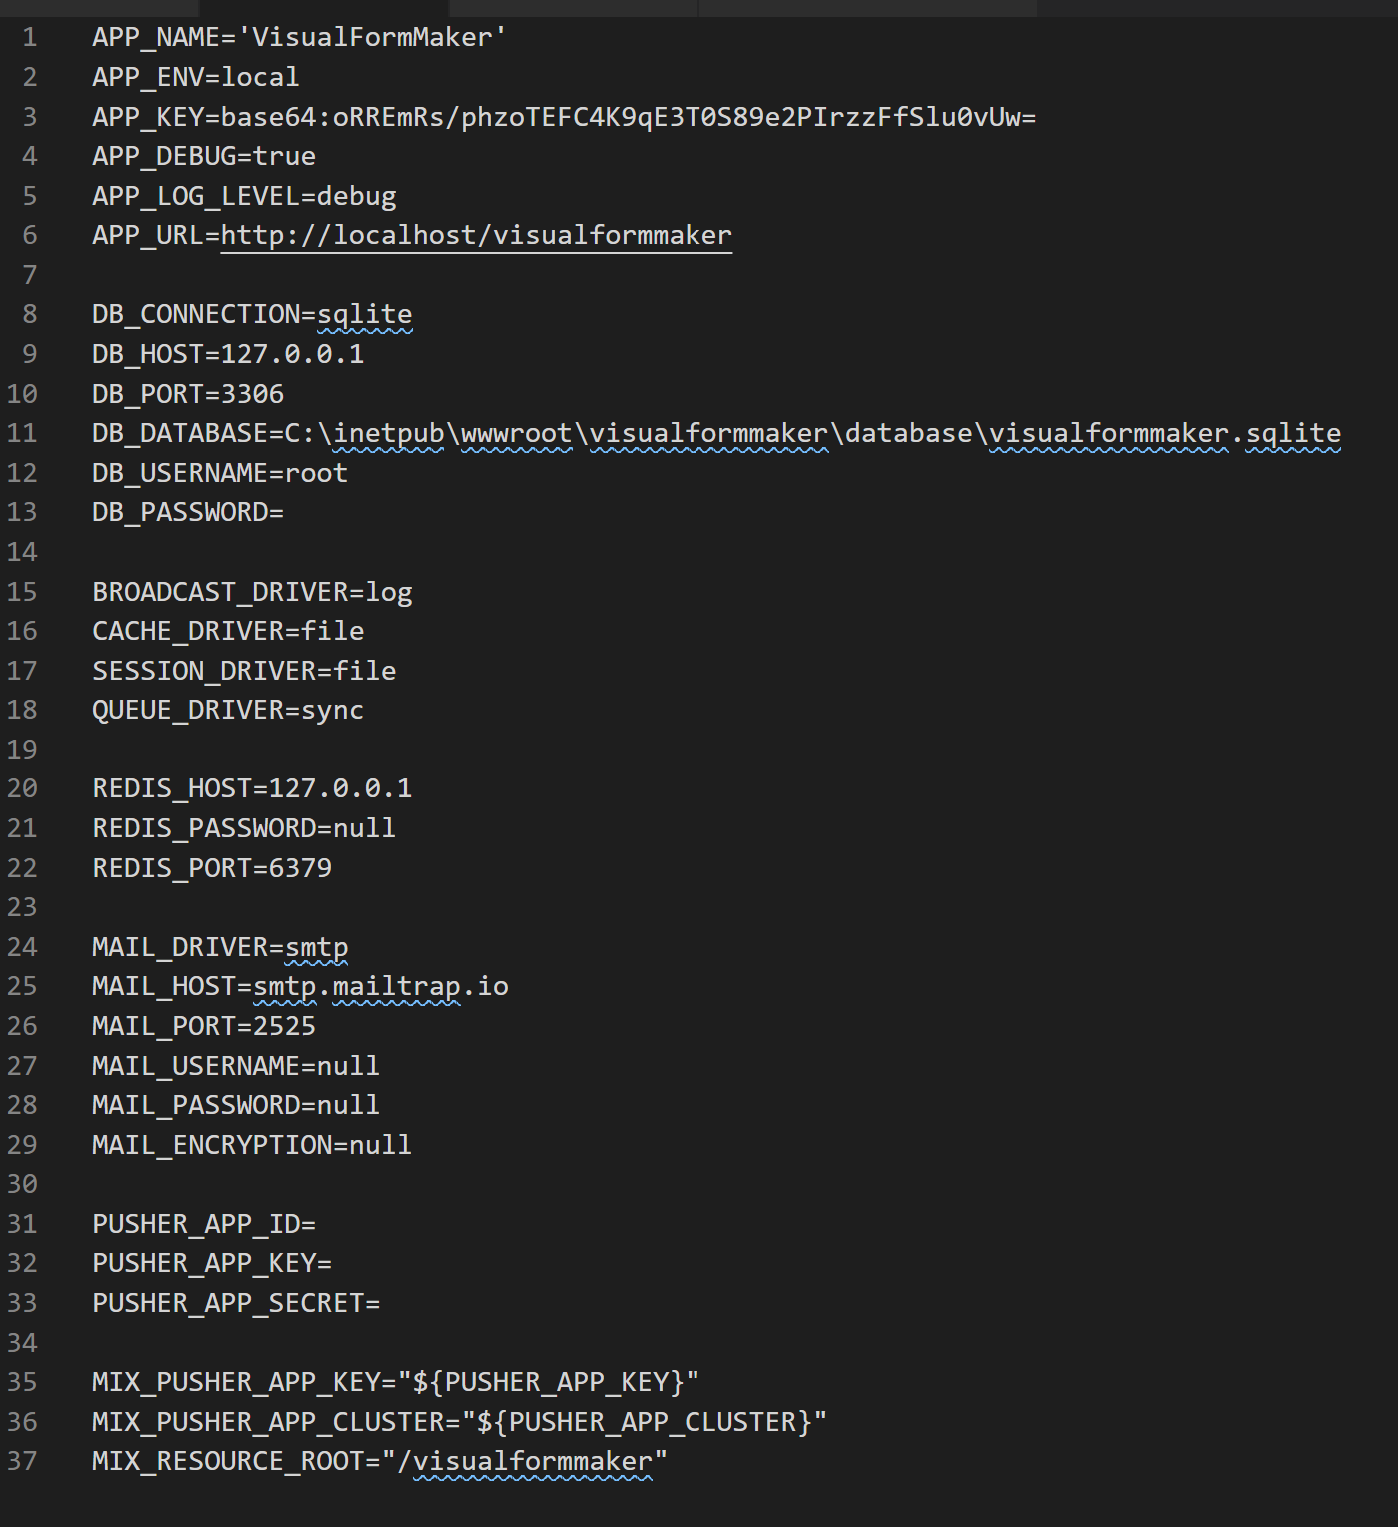
env file cntent
Dashboard
'Settings' => 'Dashboard'.
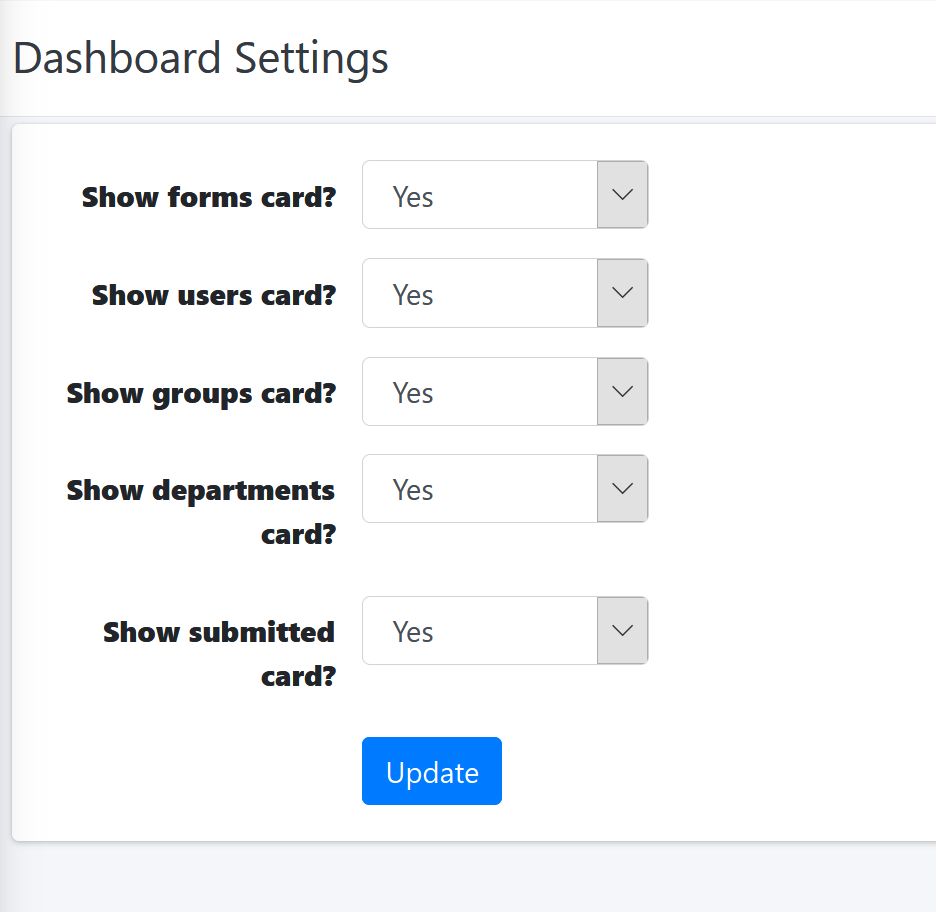
Show or hide the link cards in the main dashboard window by selecting Yes or No in the option.
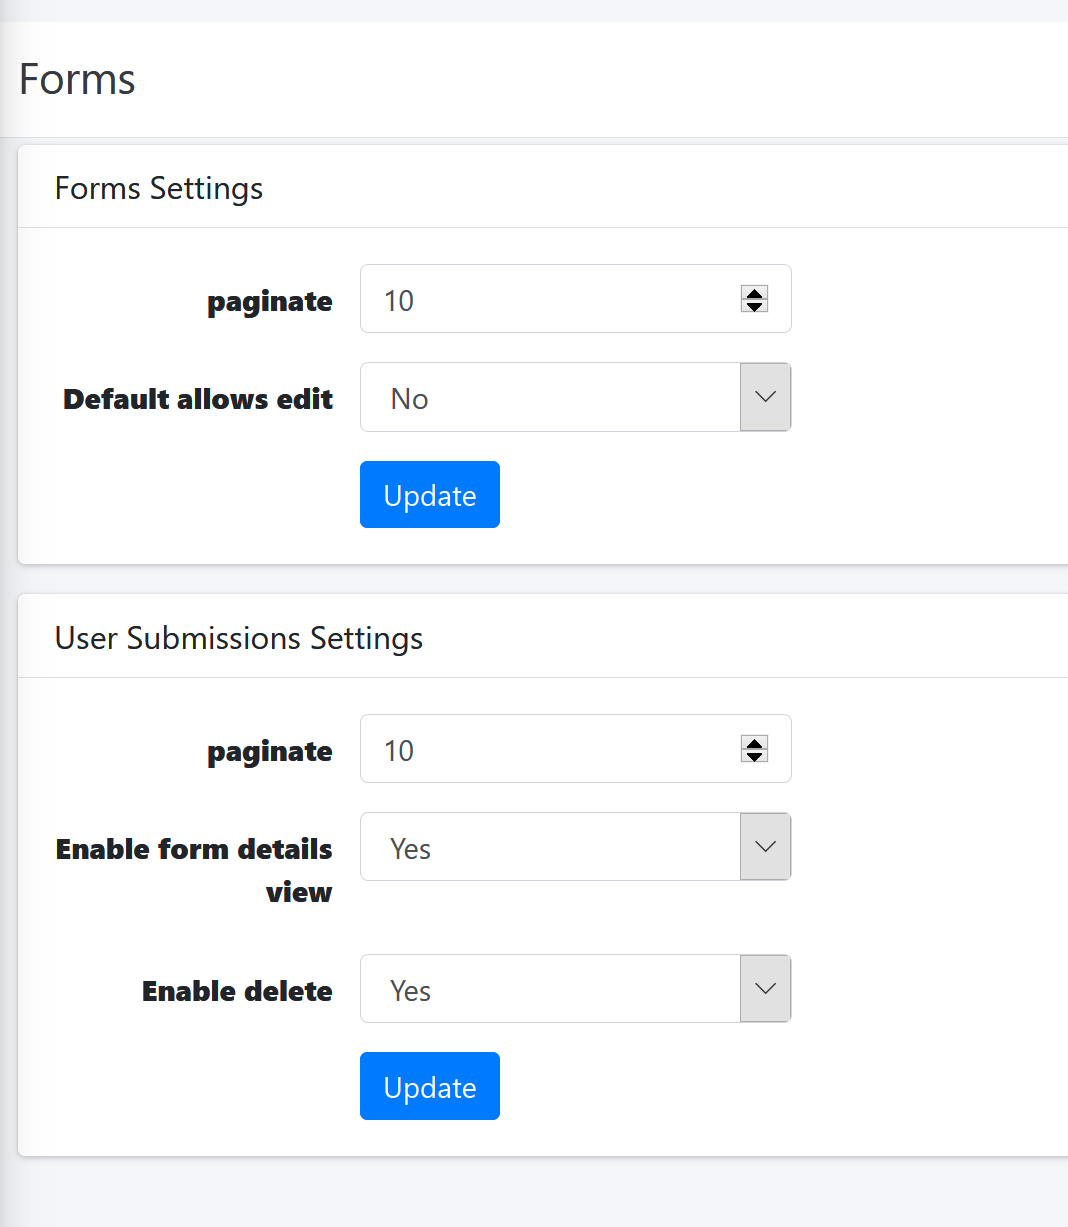
Forms
'Settings' => 'Forms'.
description
| name | description |
|---|---|
| Forms Settings: | |
| 'paginate' | The number of rows to be displayed in the table per page ('Forms' table). |
| 'Default allows edit' | When creating a new form, whether the 'Allows Edit' option will be 'yes' or 'no' by default. |
| User Submissions Settings: | |
| 'paginate' | The number of rows to be displayed in the table per page ('My Submissions' and 'Submitted data...' tables). |
| 'Enable form details view' | Enable or disable submission details view for Form 'Manager'/'Editor' users. |
| 'Enable delete' | Enable or disable delete submitted data for non 'Administrator' users. |
Users
'Settings' => 'Users'.

description
| name | description |
|---|---|
| 'paginate' | The number of rows to be displayed in the table per page ('Users' table). |
| 'Default groups' | When creating a new user, to which groups to attach the user as default.(multi-selections) |
| 'Default user status' | Default user status when creating a new user.('active' or 'disabled') |
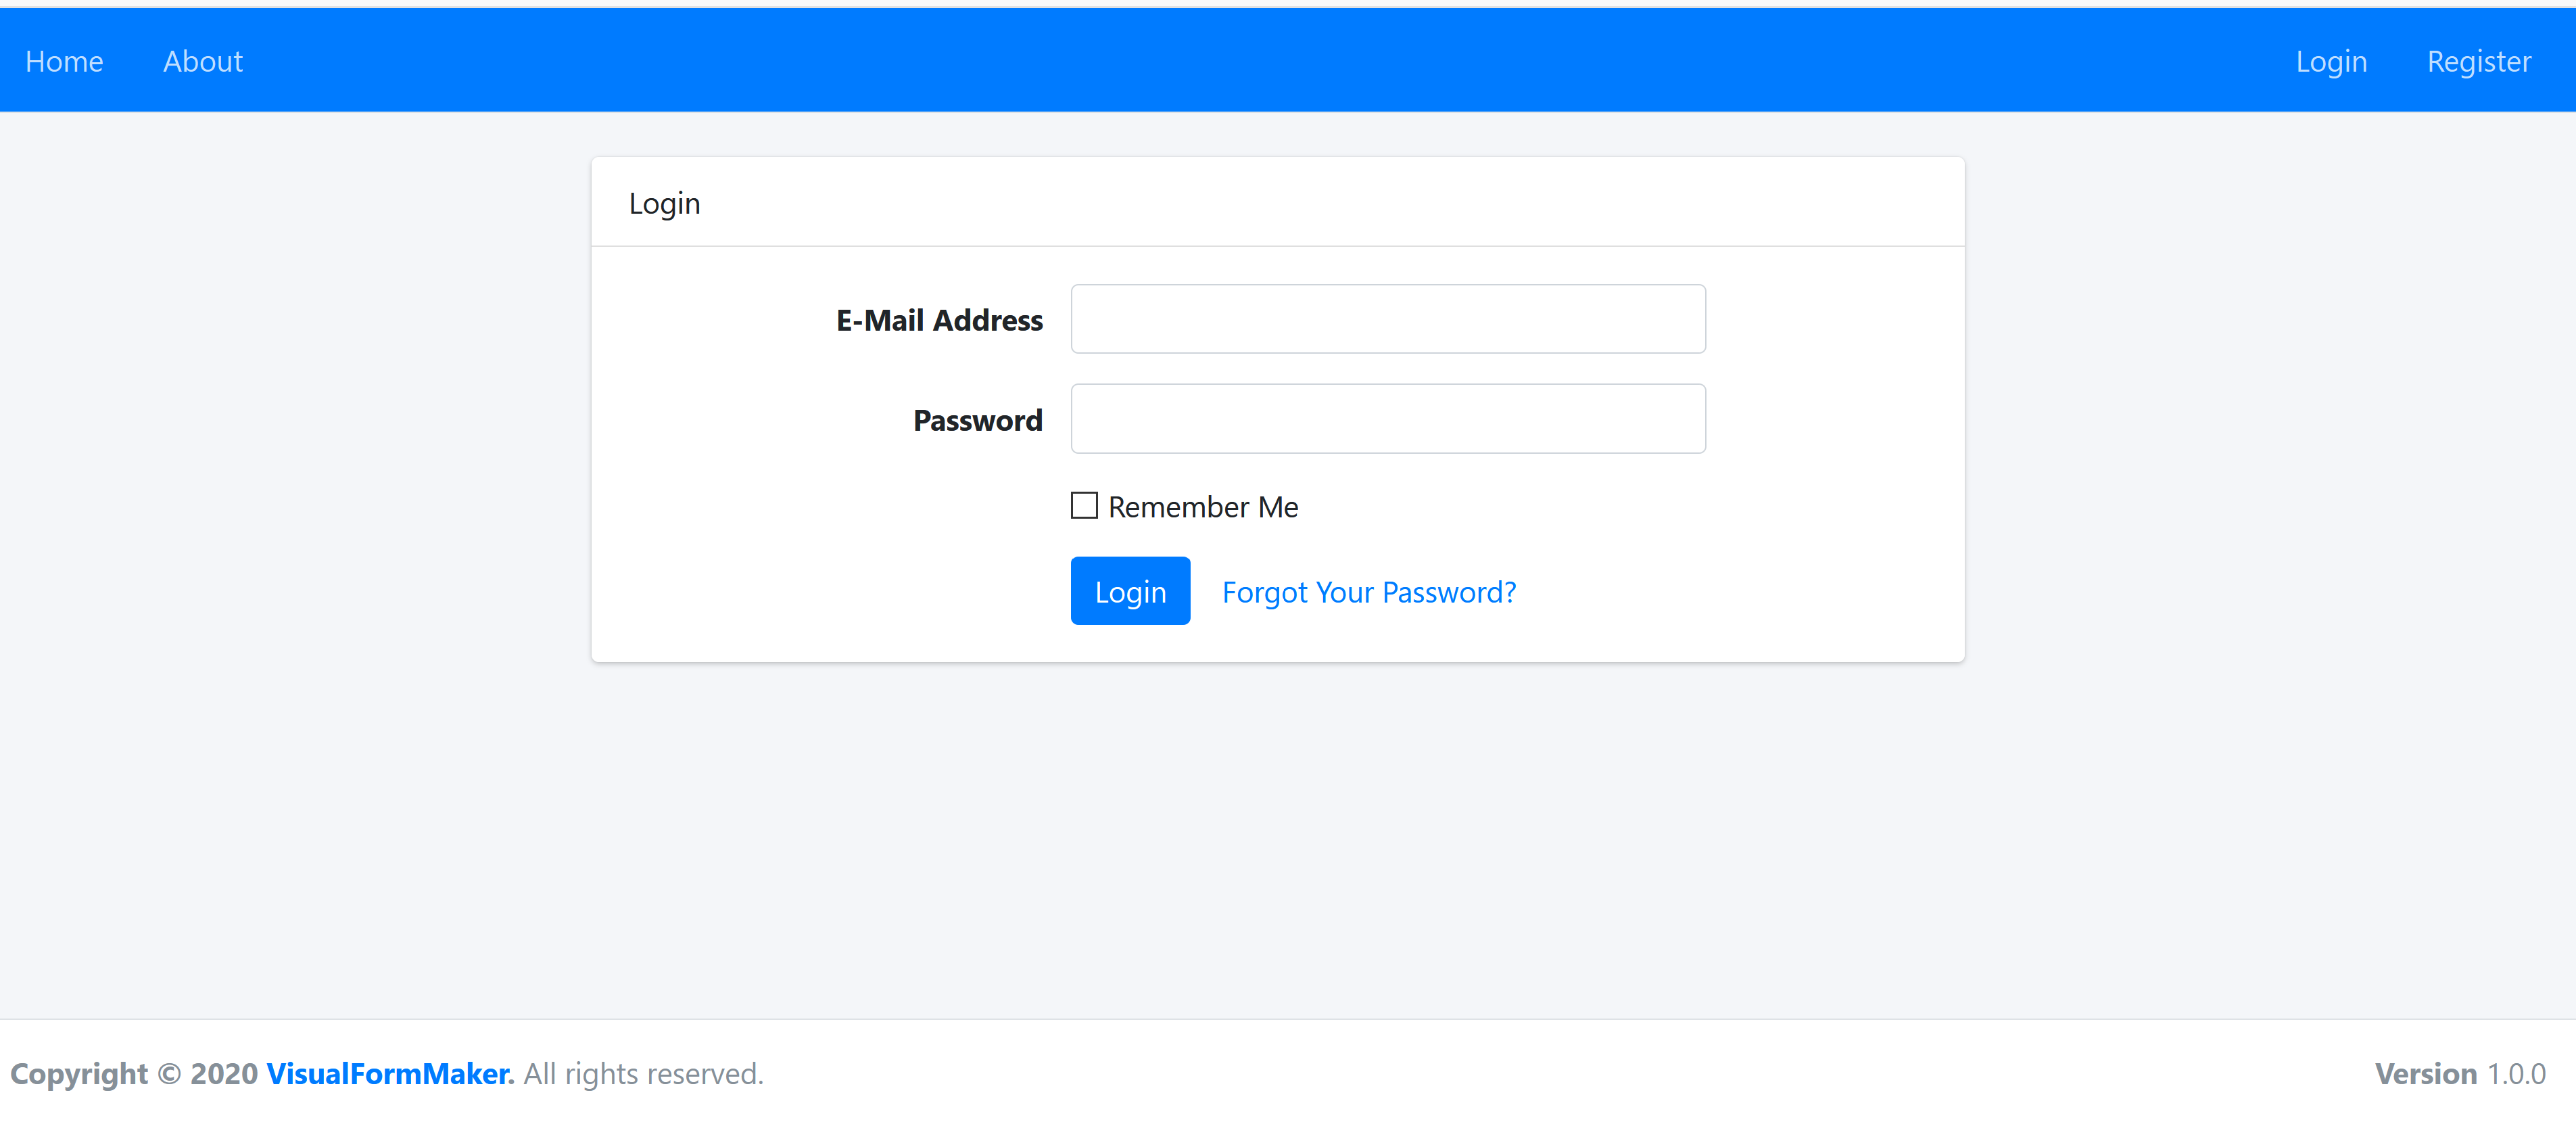
| 'Allow registration' | Allow registration from the login page by the 'Register' button:

|
| 'Allow reset password on login page' | Allow a password reset request from the login page:
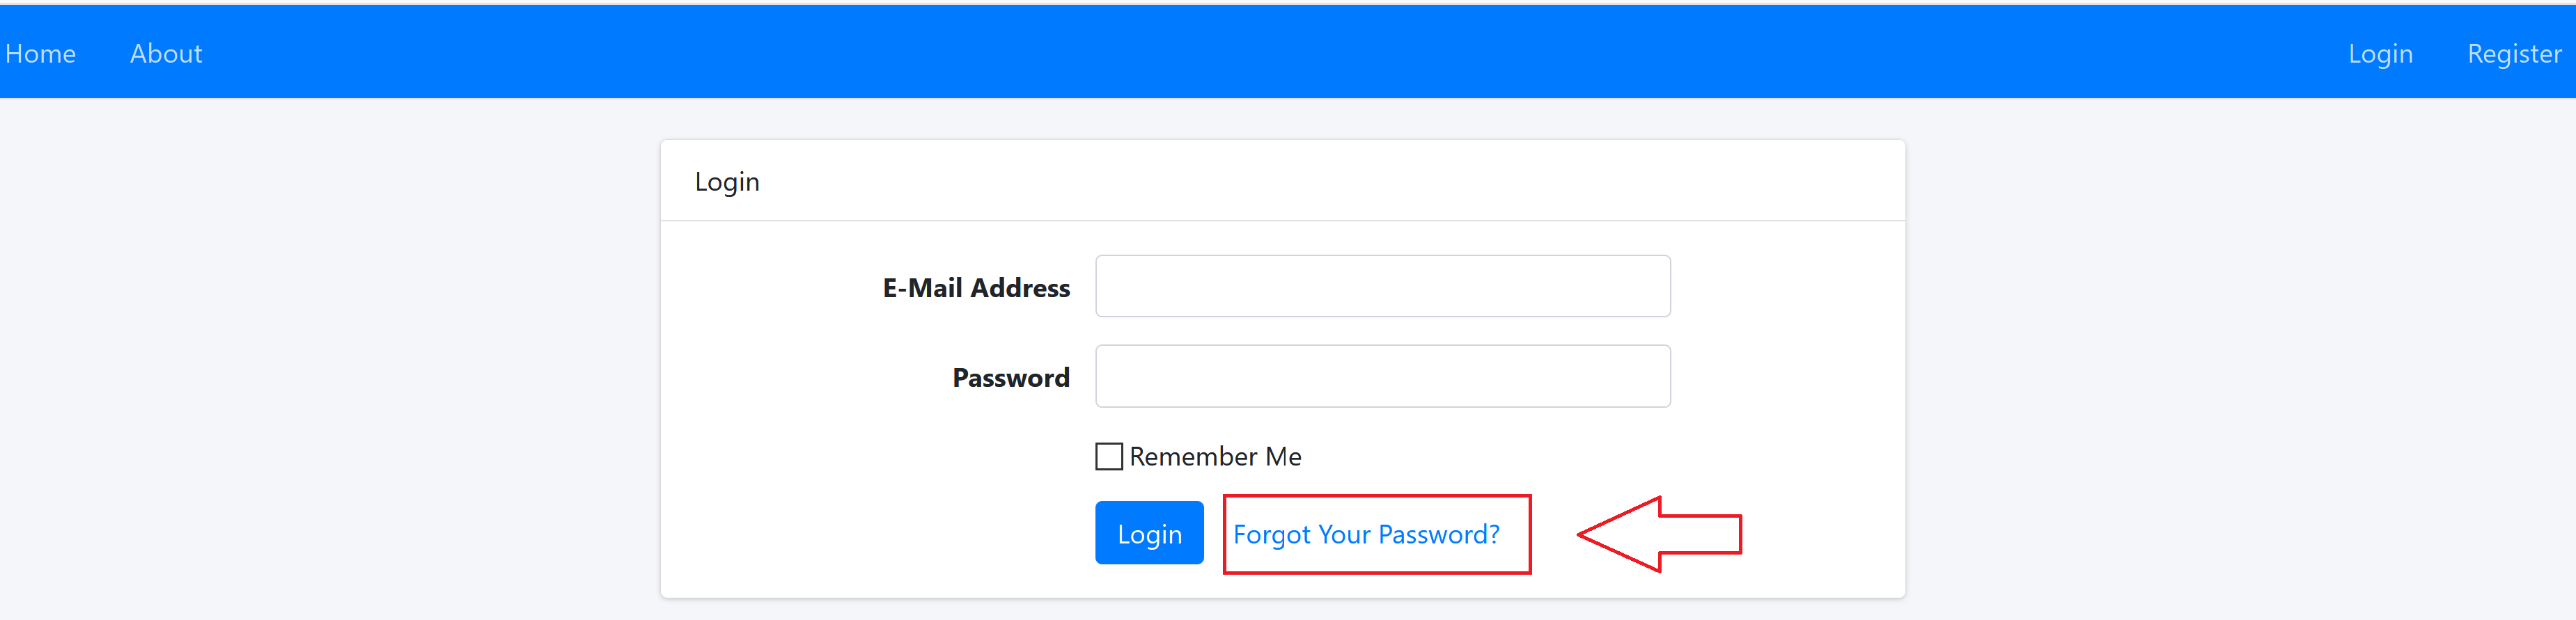

|
| 'Allow remember on login page' | Allow and show 'remember me' on login page:

|
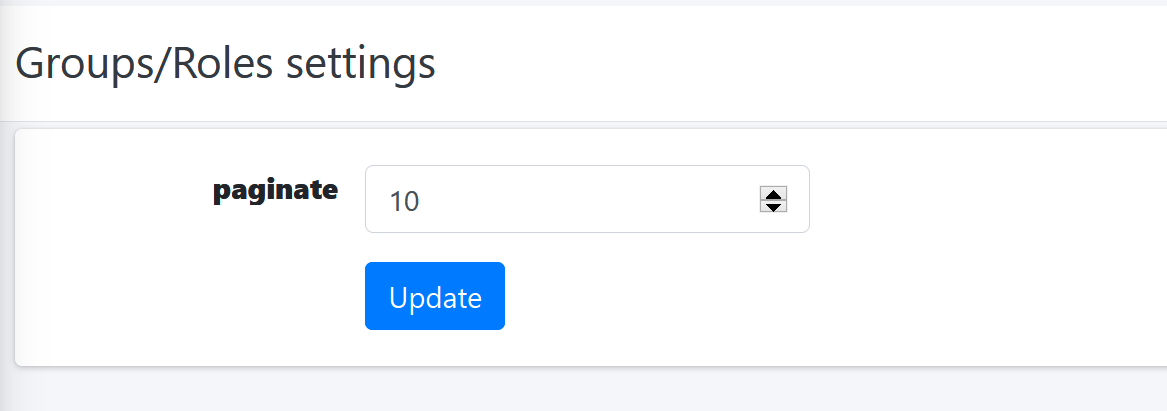
Groups/Roles
'Settings' => 'Groups/Roles'.
description
| name | description |
|---|---|
| 'paginate' | The number of rows to be displayed in the table per page ('Groups/Roles' table). |
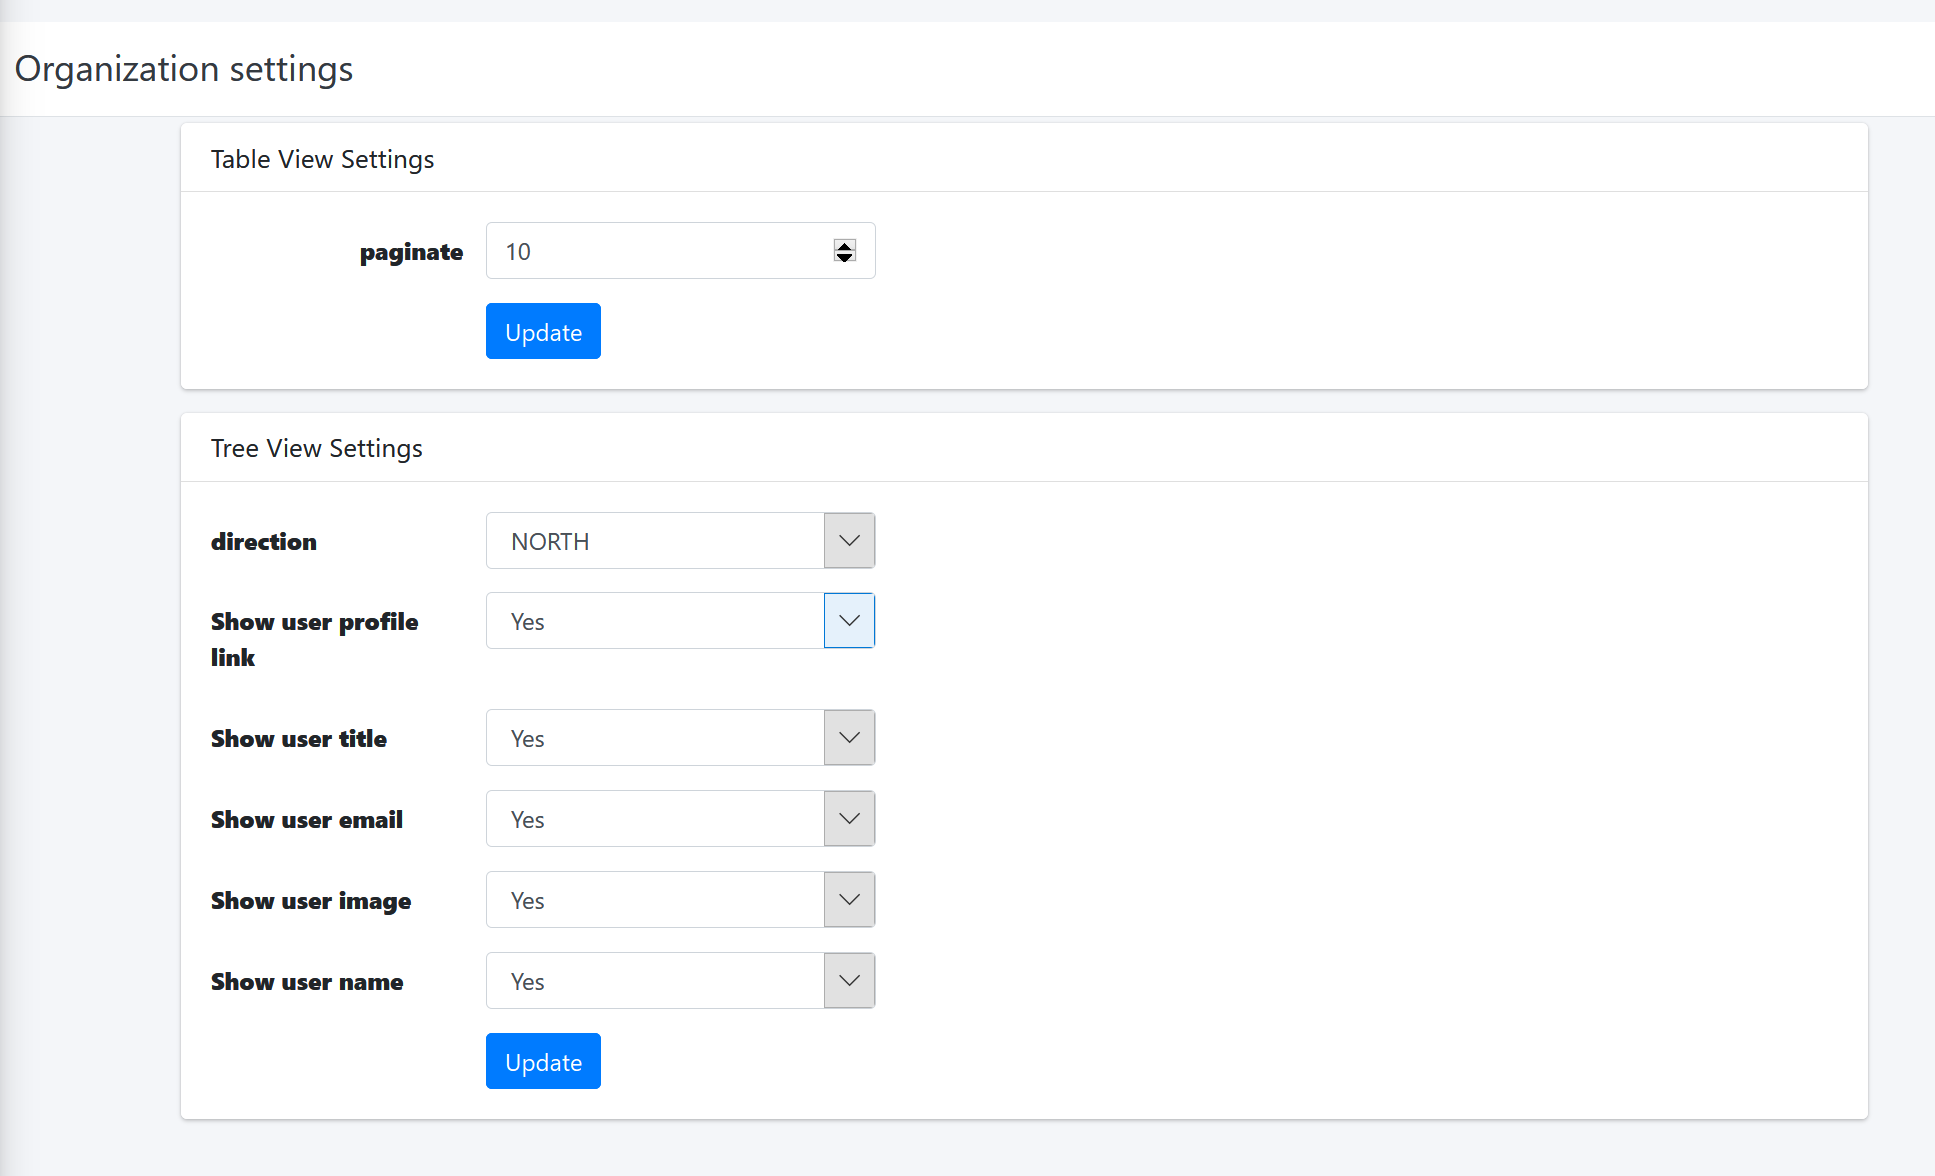
Organization
'Settings' => 'Organization'.
description
| name | description |
|---|---|
| Table View Settings: | |
| 'paginate' | The number of rows to be displayed in the table per page ('Departments' table view). |
| Tree View Setting: | |
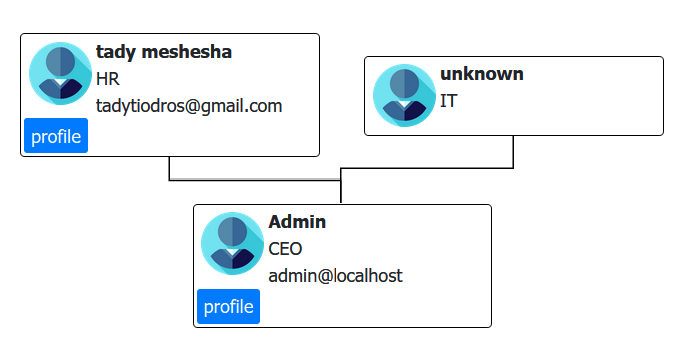
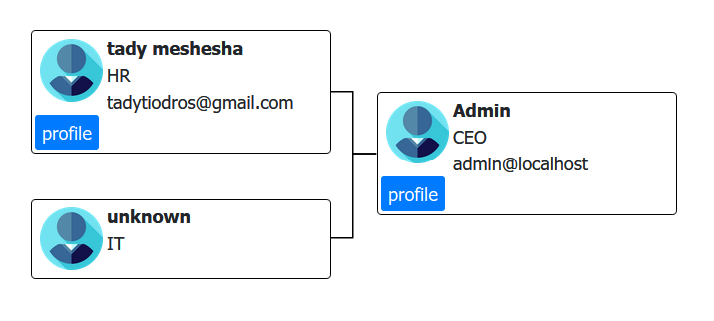
| 'direction' |
The direction of the organization tree. Options:
|
| 'Show user profile link' | Show or hide profile link button in user node.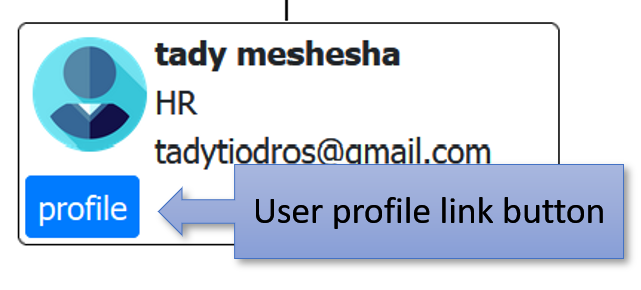
|
| 'Show user title' | Show or hide user title in user node.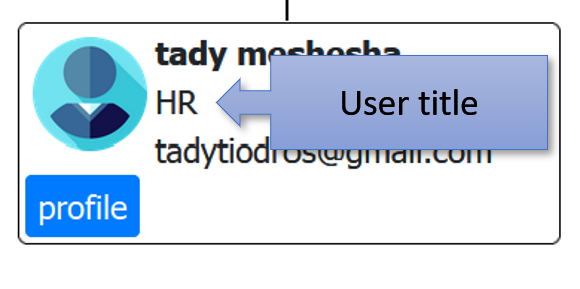
|
| 'Show user email' | Show or hide user email in user node.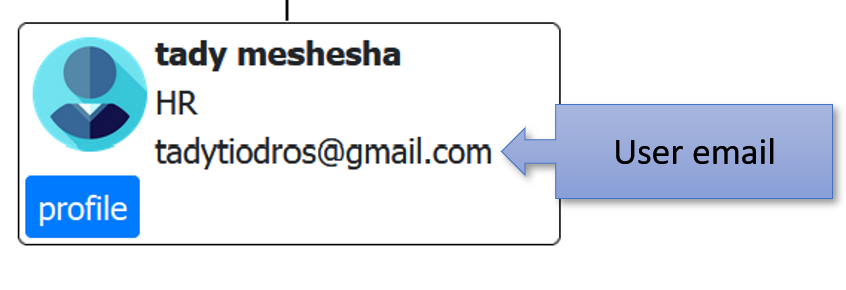
|
| 'Show user image' | Show or hide user image in user node.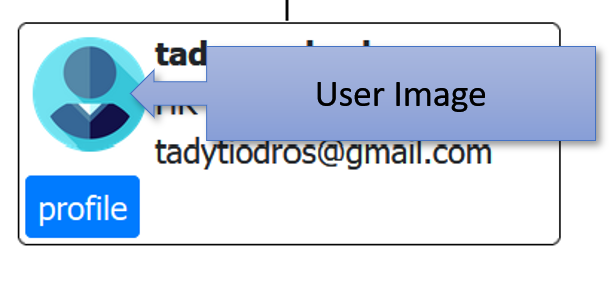
|
| 'Show user name' | Show or hide user name in user node.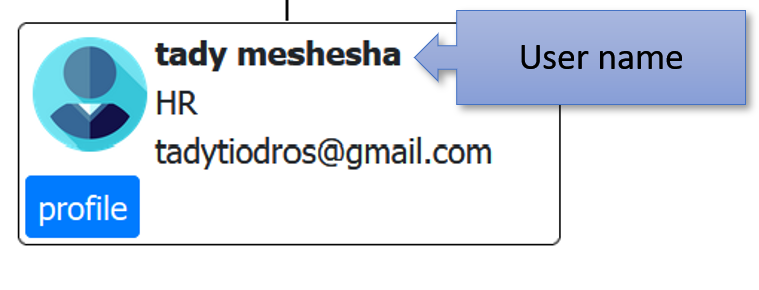
|